What's so special about the X-Box?
X-Box FAQ Frequently Asked Questions
Flashing the TSOP of your Xbox Tutorial
X-Box UXE Softmod Installation tutorial
Flash the Firmware of your Xbox 360
All xbox models are the same when it comes to how they are opened.
Throughout this Tutorial you may enlarge any photo by simply clicking on it.
You will need 2 Torx screw drivers a Torx 20 and a Torx 10 (see photos below)
These tools are unique in shape but you should be able to find them at almost any Hard-ware store.
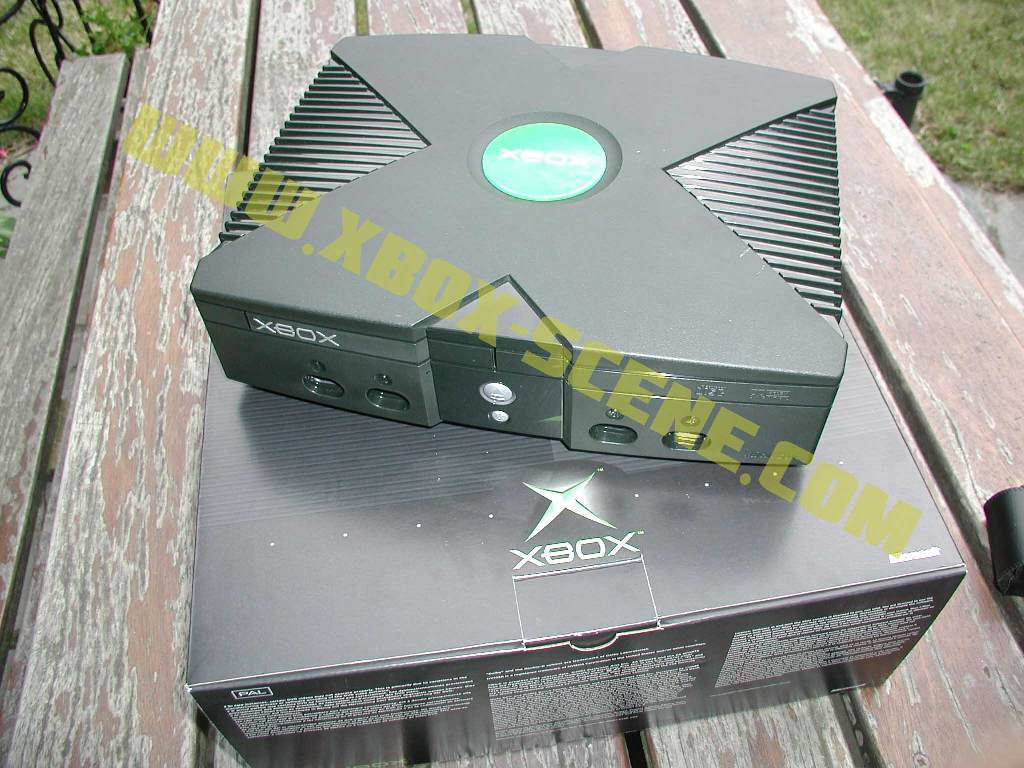
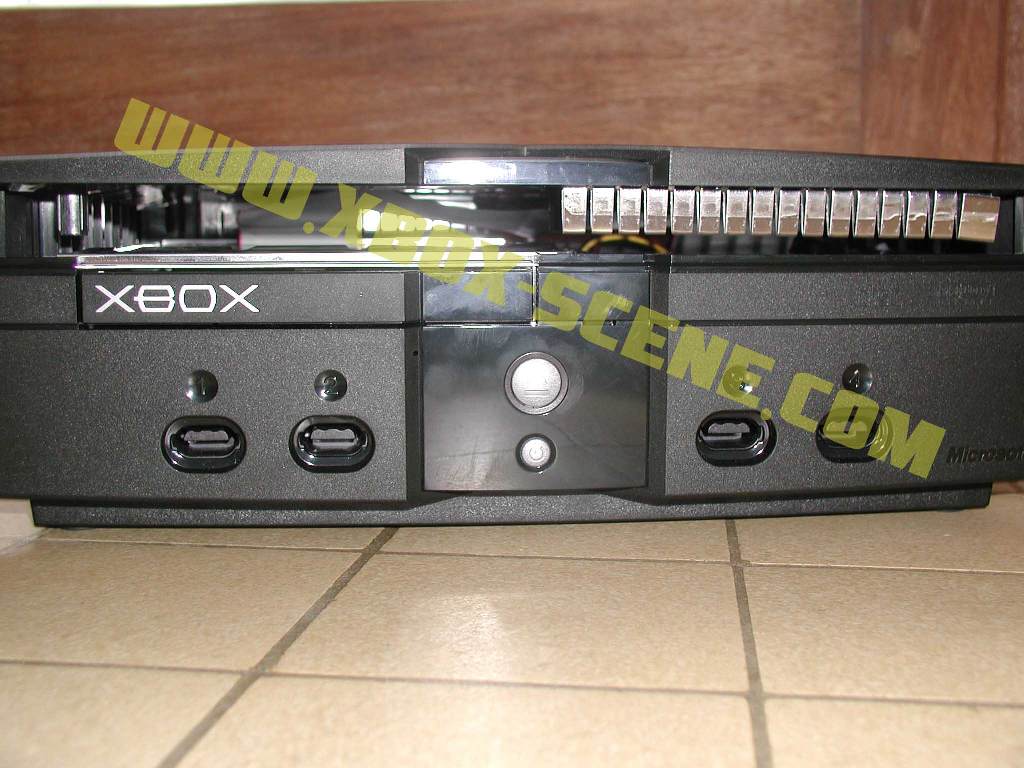
The photos below show an unopened Xbox console right side up and then upside down (the side we need to open).

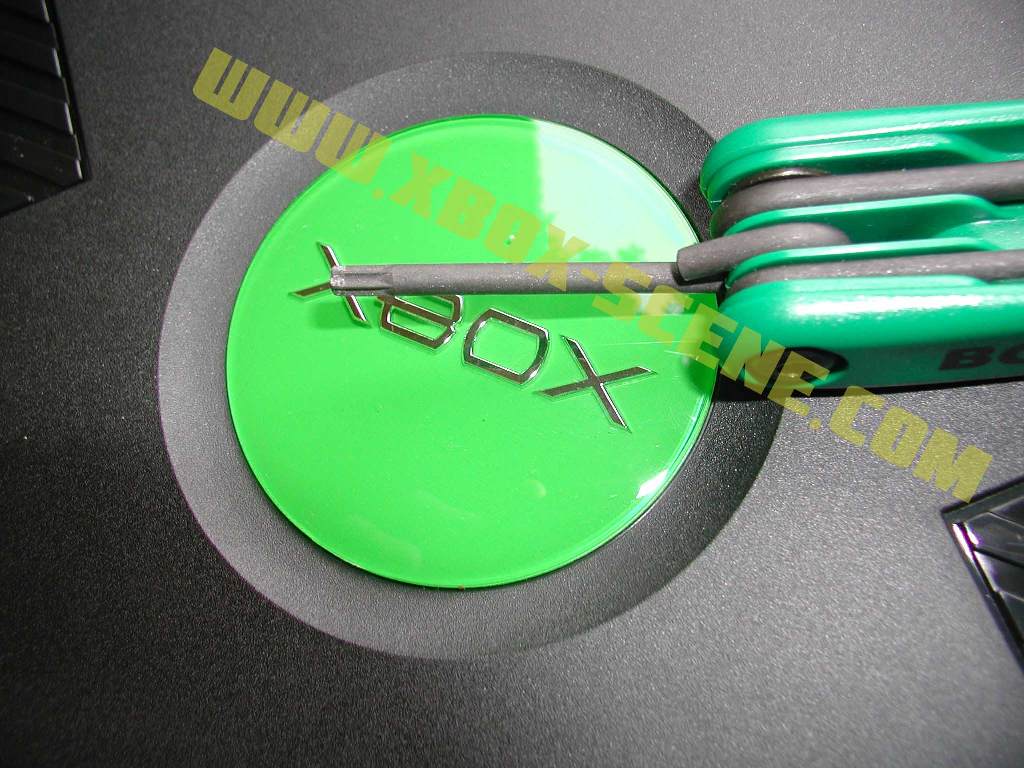
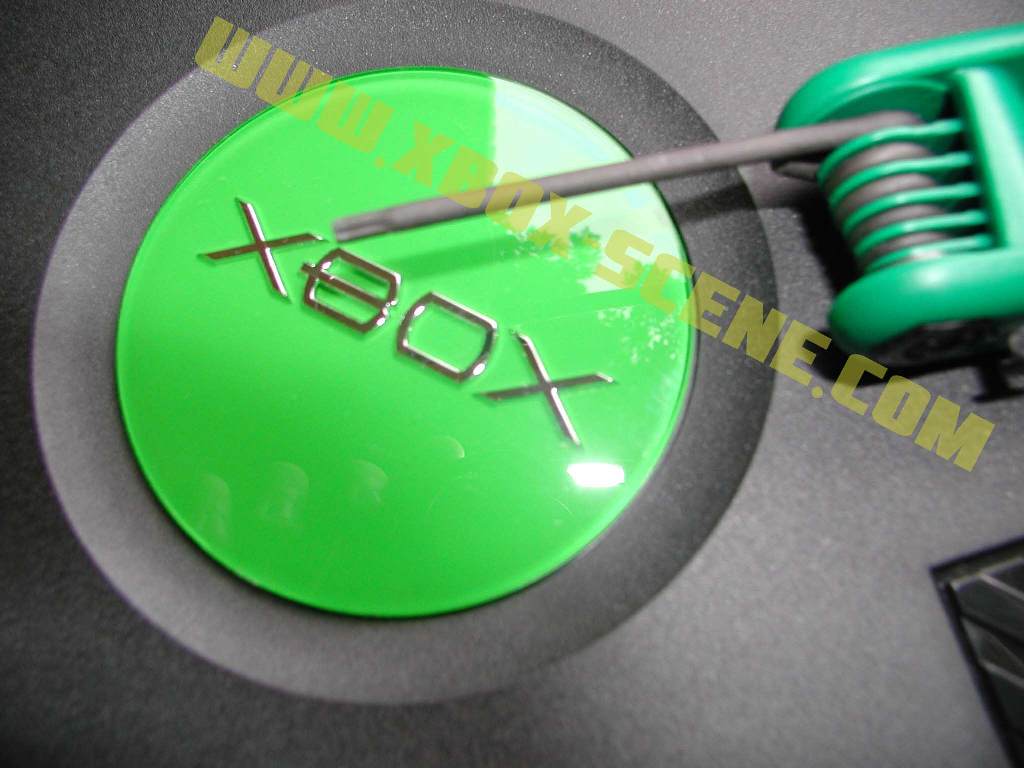
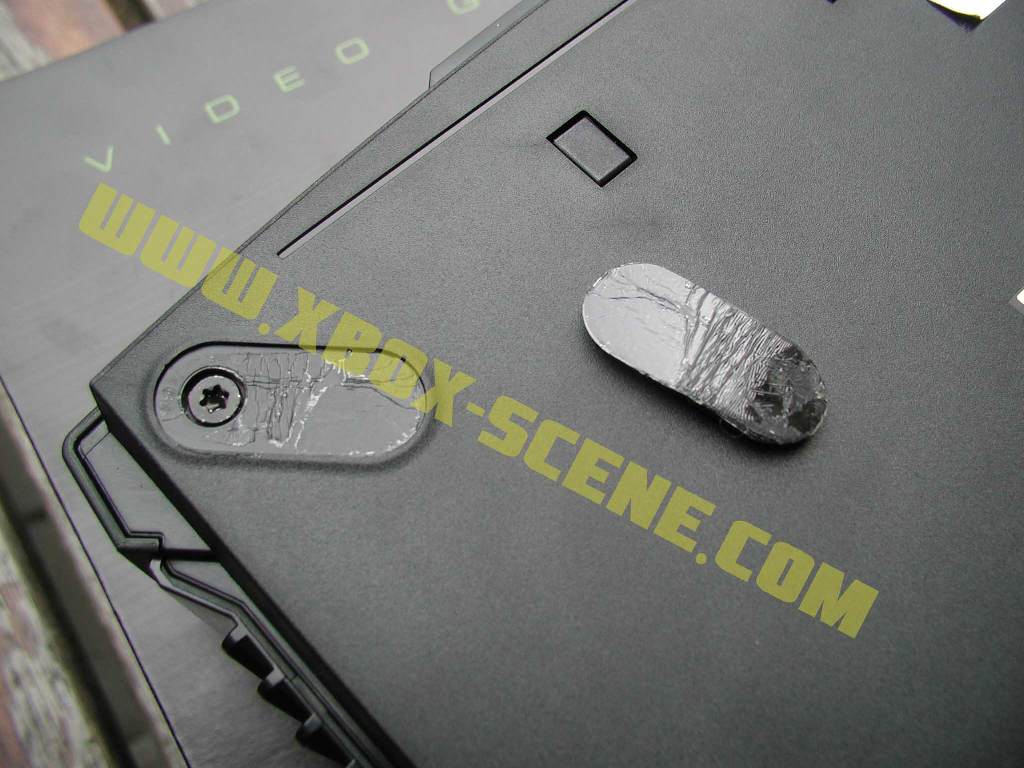
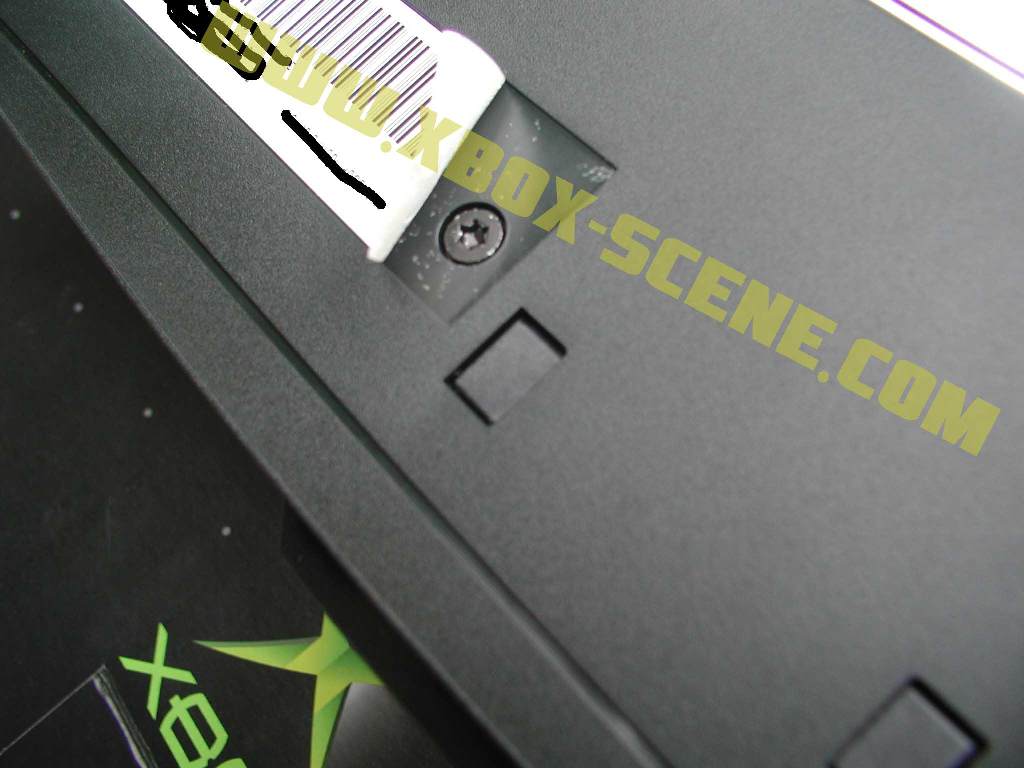
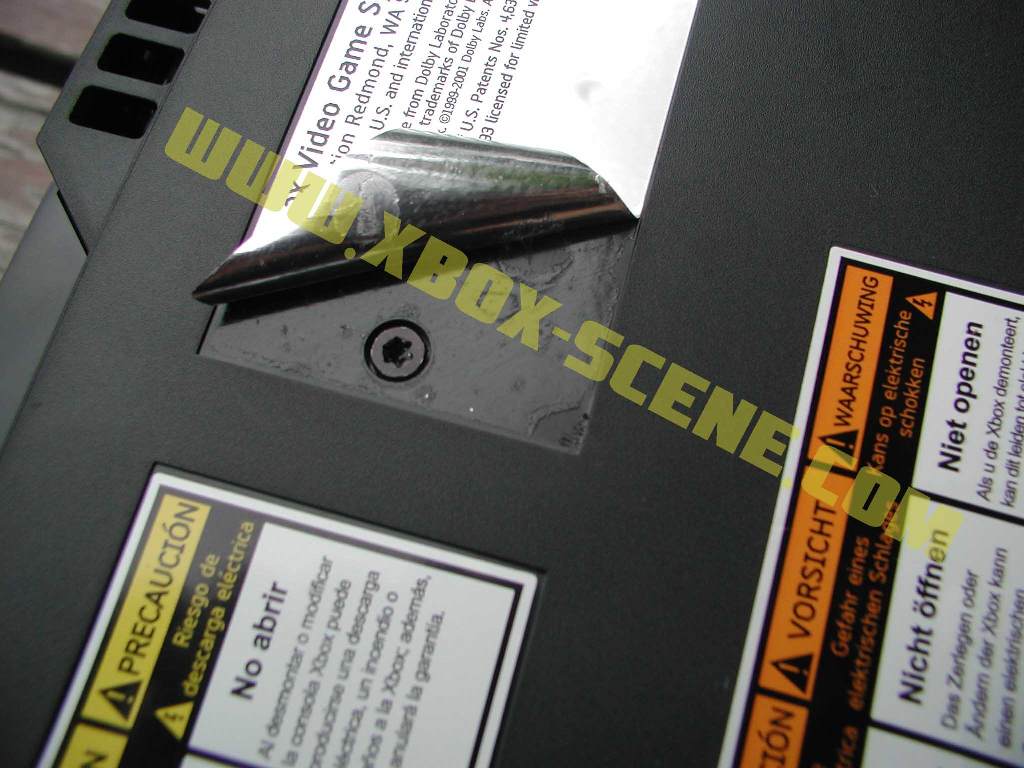
Turn you xbox upside down, under each "Foot" you will find a screw, also hidden under 2 of the stickers is a screw (6 in total). Use a Torx 20 to unscrew these, as in the photos below Remove the "Foot" (four total) to access the screws then remove or peel back the serial number sticker to access the one of the hidden screws.The last screw is hiding under the Microsoft warranty sticker.

Now carefully flip the Xbox back right-side up and separate the top cover from the base (look at the photo below to get an idea of what should be lifting off) Once the top cover is off the next picture is what you should see.
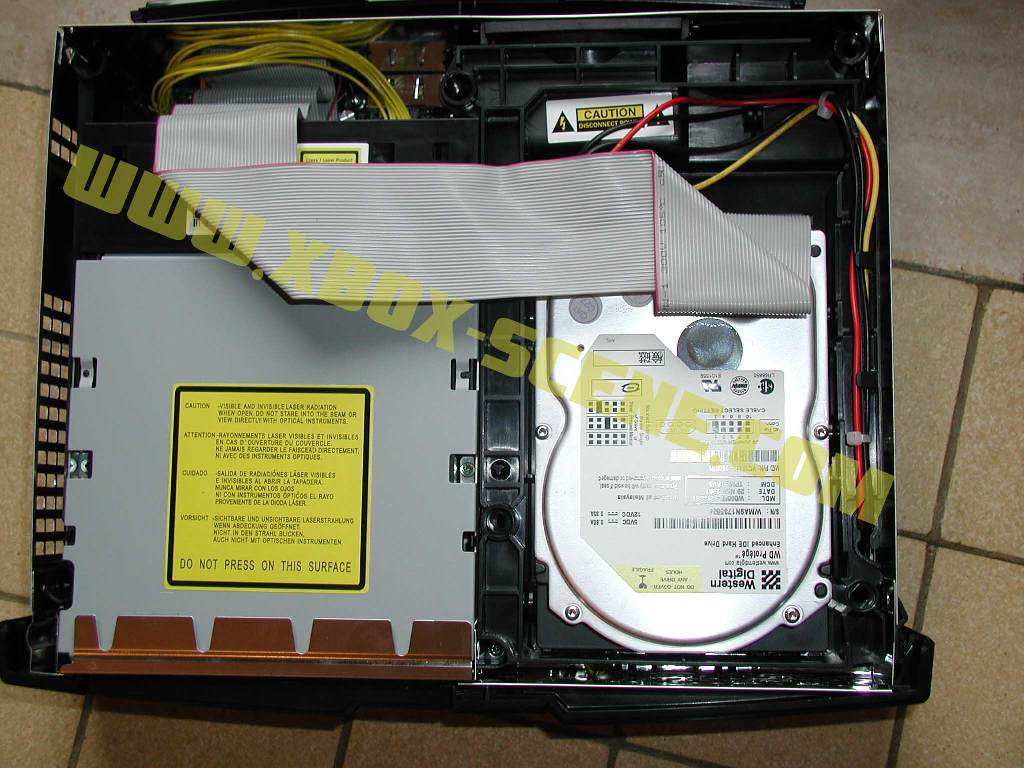
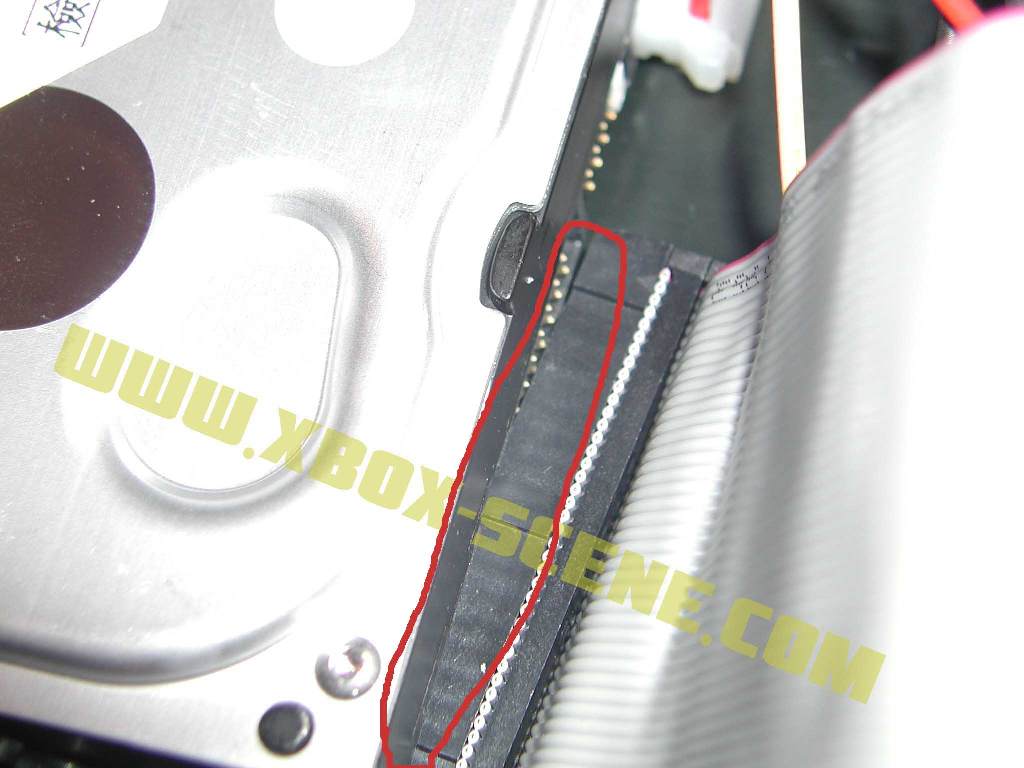
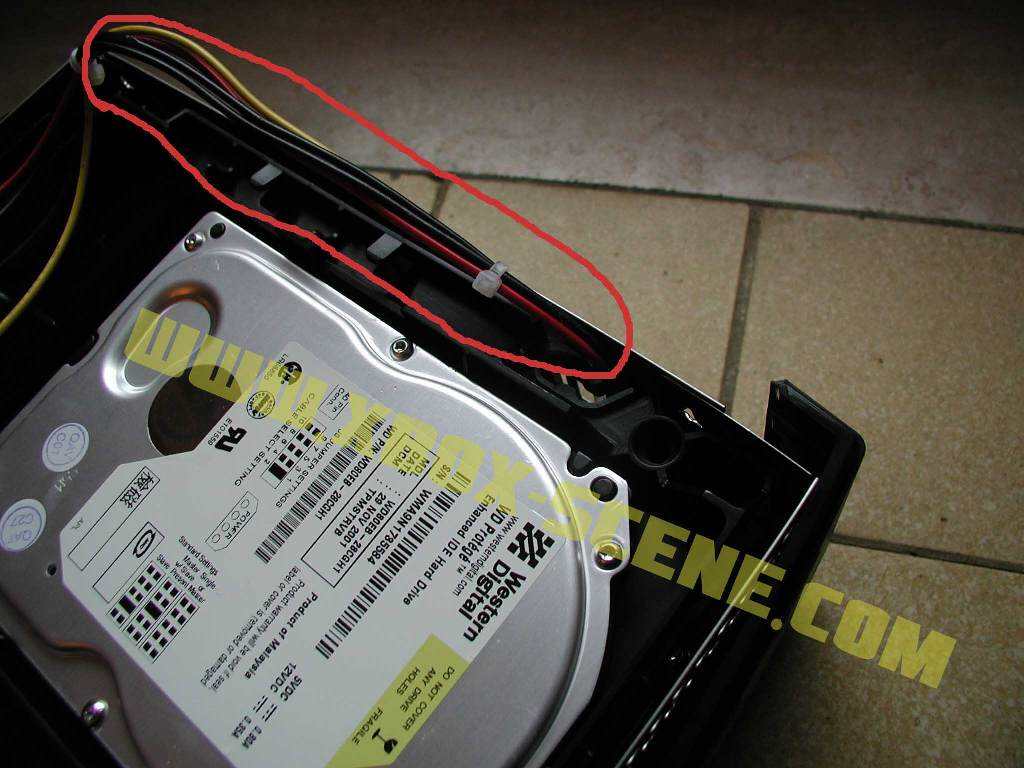
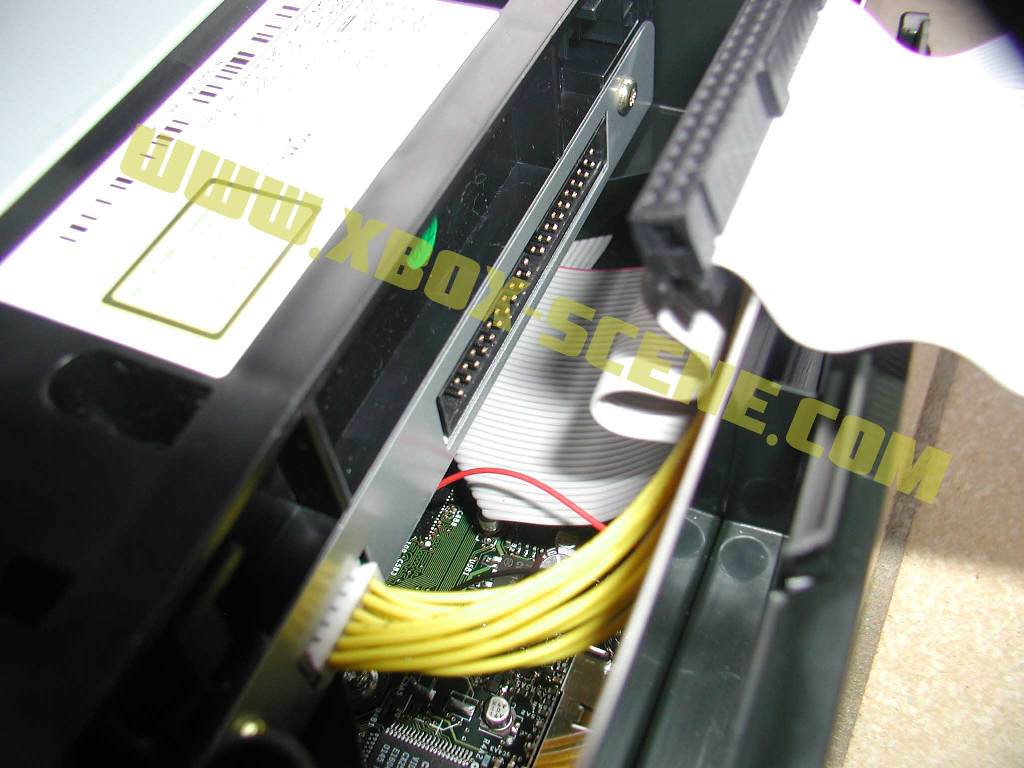
You should now see the 'hard-drive' on the right-hand side of the Xbox and the 'DVD drive' on the left-hand side. Start by removing the IDE cable from the back of the Hard-drive as in the photos below.
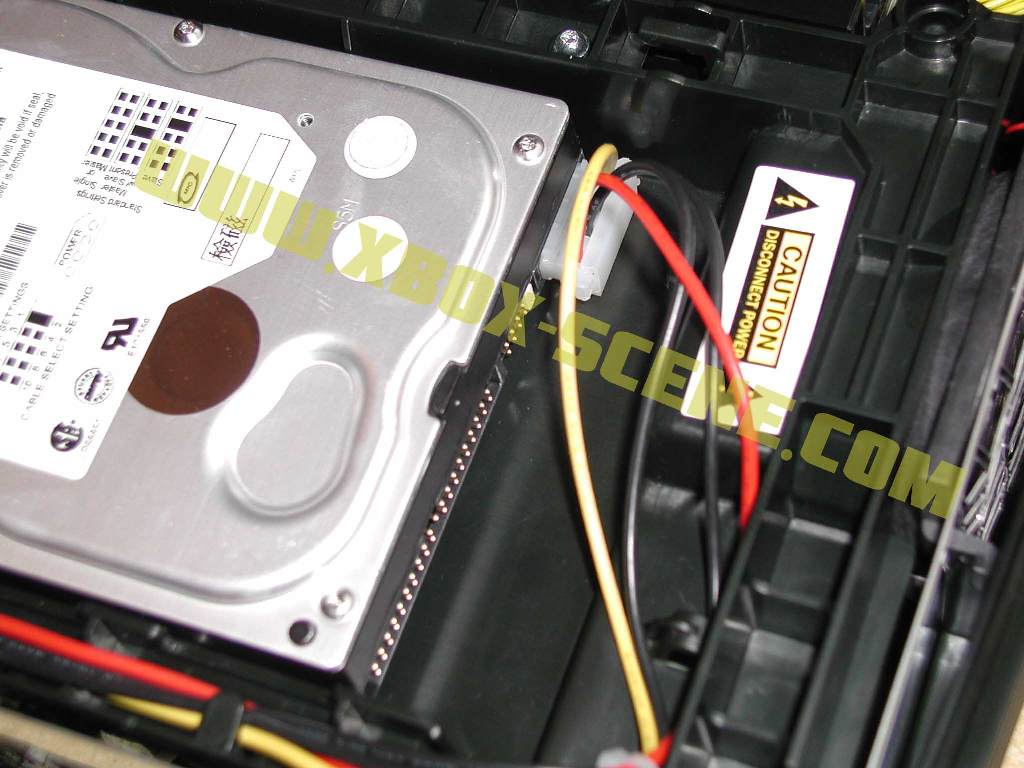
Now you will see a Torx screw, unscrew this screw with a Torx 10 and then remove the Hard-drives power cable, be careful to Make sure the power cable isn't blocking you from removing the Hard-drive tray, you can remove the Hard-drive tray from the Xbox by lifting it straight up towards you. If you want you can now remove the Hard-drive from its plastic tray by removing a few screws on the sides (If upgrading the hard-drive now is the time!).

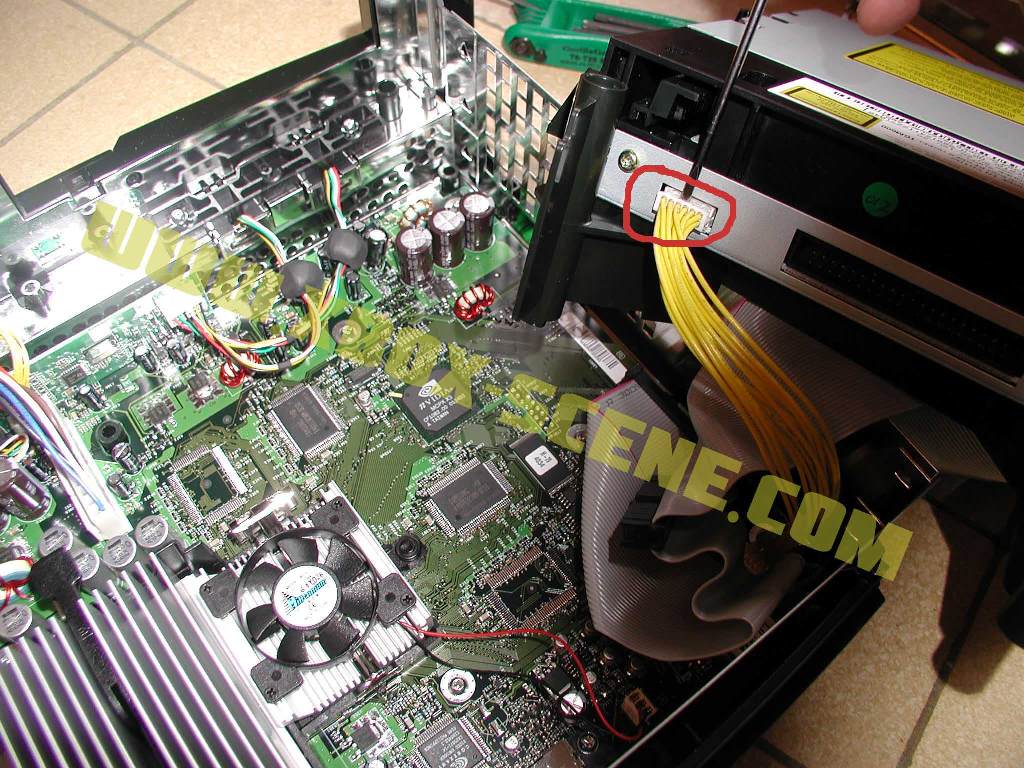
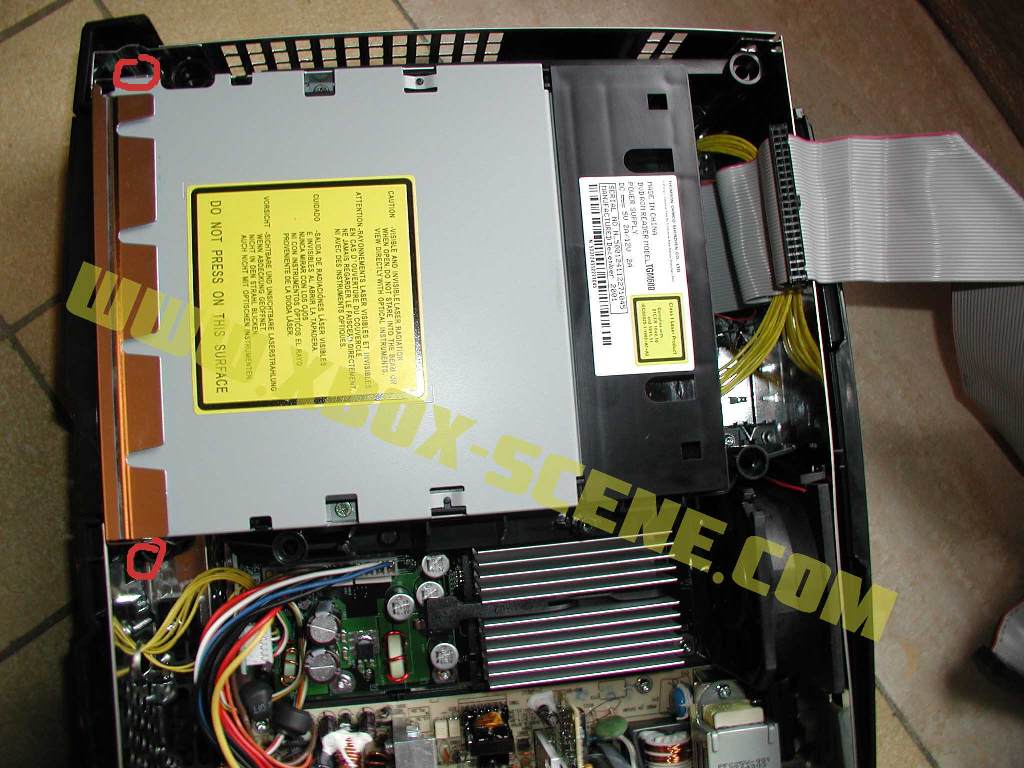
Now we need to remove two more Torx 10 screws hidden on either side of the DVD drive, they are indicated in the photo below by the red circles. once the screws have been removed the IDE-cable must be removed from the back of the DVD-drive, it should come out easily and once removed only a yellow connector will remain. You can now remove the DVD-drive by lifting the tray upwards. If something seems to be blocking your attempts, check the front side of the xbox DVD-drive and make sure that the metal shielding plate isn't hanging up on something.
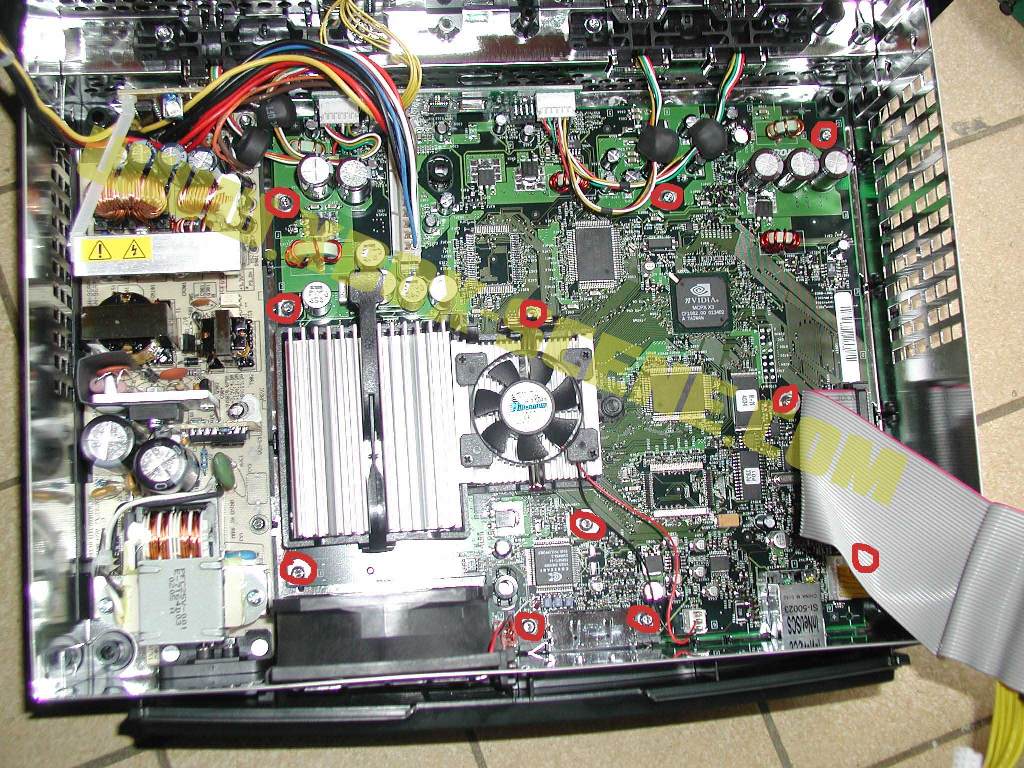
Now remove the yellow power cable. You should be able to remove it with your hands, if you can't try prying it a little with a screwdriver, make sure you don't damage it as this power cable is Xbox specific (you can't easily purchase a replacement). Now you should have a nice view of the Motherboard if you need to remove the Motherboard you will have to remove all 11 Torx 10 screws located in the red circles of the photo below (click on the photo to enlarge).