
History behind the biline.ca website
Have a laugh read the Humour Pages
Read about the IBM 4100 Web-printer
Customer Service where has it gone?
Let's move on to the actual renovations
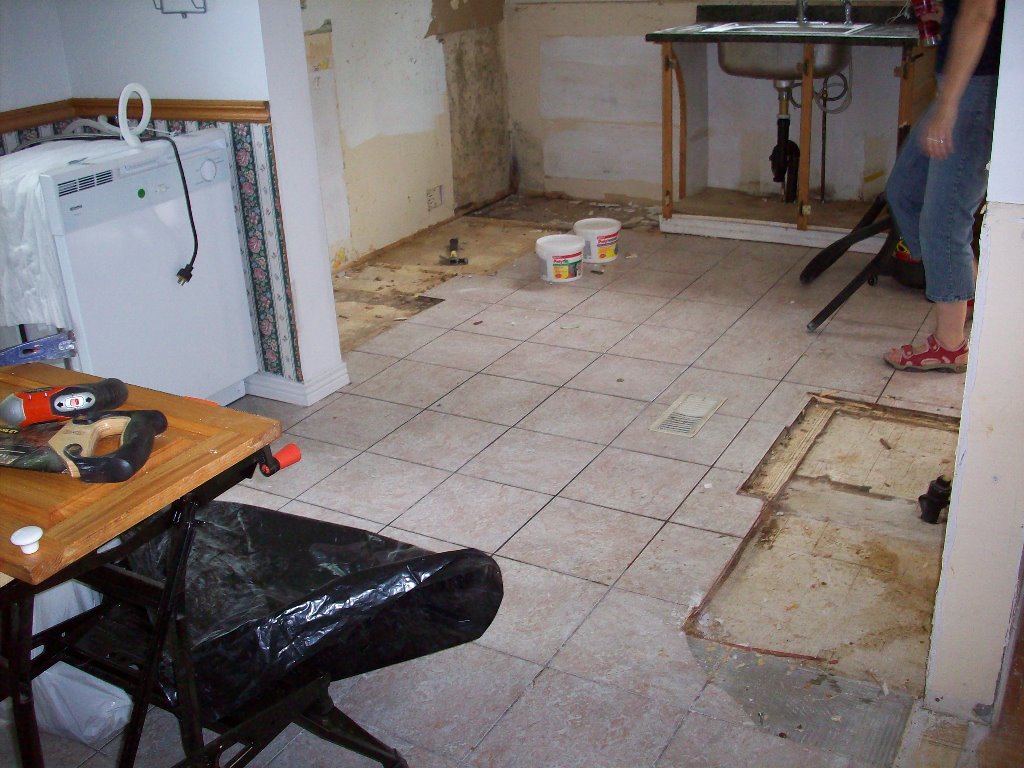 |
Here is the kitchen area after most of the cupboards were removed, we decided to ditch the tiles as we planned on moving the vent from the middle of the floor and a few tiles were cracked. I was very lucky to have my fathers help in this endeavor as we needed to remove the tiles and the layer of plywood that the tile had been affixed. I purchased a couple of long wrecking bars for the purpose and with the two of us prying constantly we slowly managed to remove all the floor, it took us most of the day. I think more time was spent removing nails that we missed while pulling sections of the floor off. |
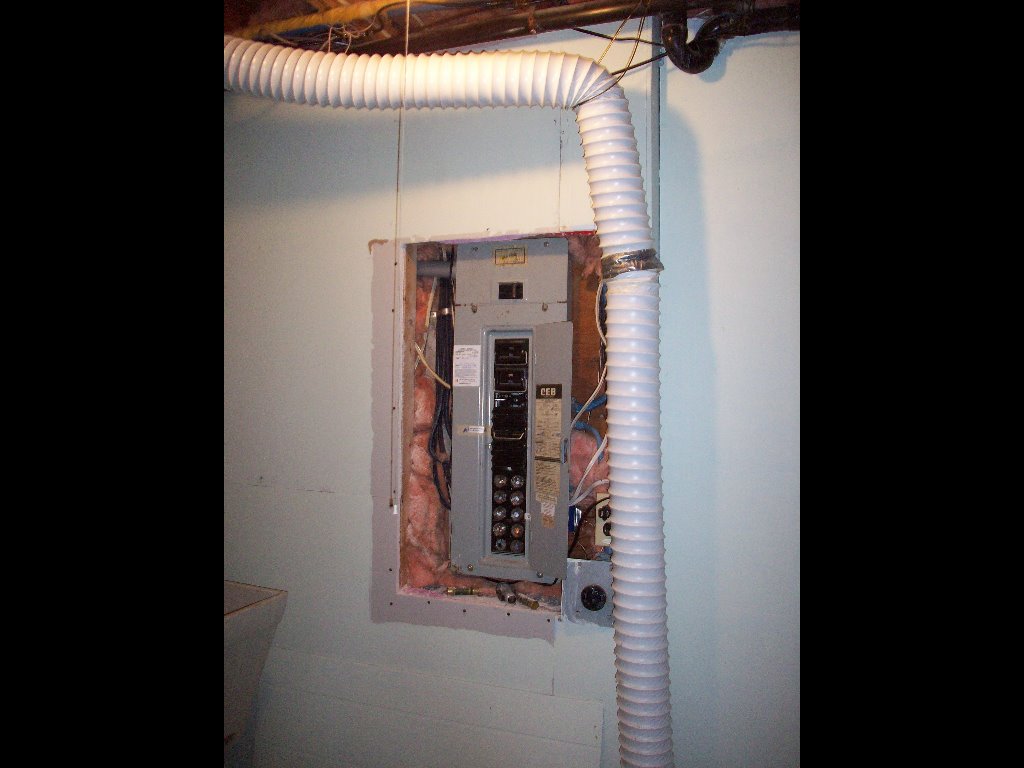 |
You can see the original electrical box in this photo was using fuses now I don't think they are unsafe but I wanted an electrical panel with breakers. I hired a local electrical contractor to perform the work as I was not about to try and tackle this job. The house was built over thirty years ago so finding fuses was not a complete surprise and at least the wiring was all copper. Thankfully I did not have to deal with the problems of having aluminum wiring. For the price of $1,388.15 they replaced the electrical panel and moved the dryer plug and relocated the stove plug. The extra cost for wire and new outlets was mine. I purchased the items needed in advance from the local Home Depot for $54.06 You can't see the dryer in this picture but the original layout had the washer next to the sink and the dryer in front of the sink which was attached to the very unsafe length of plastic dryer hose vent. |
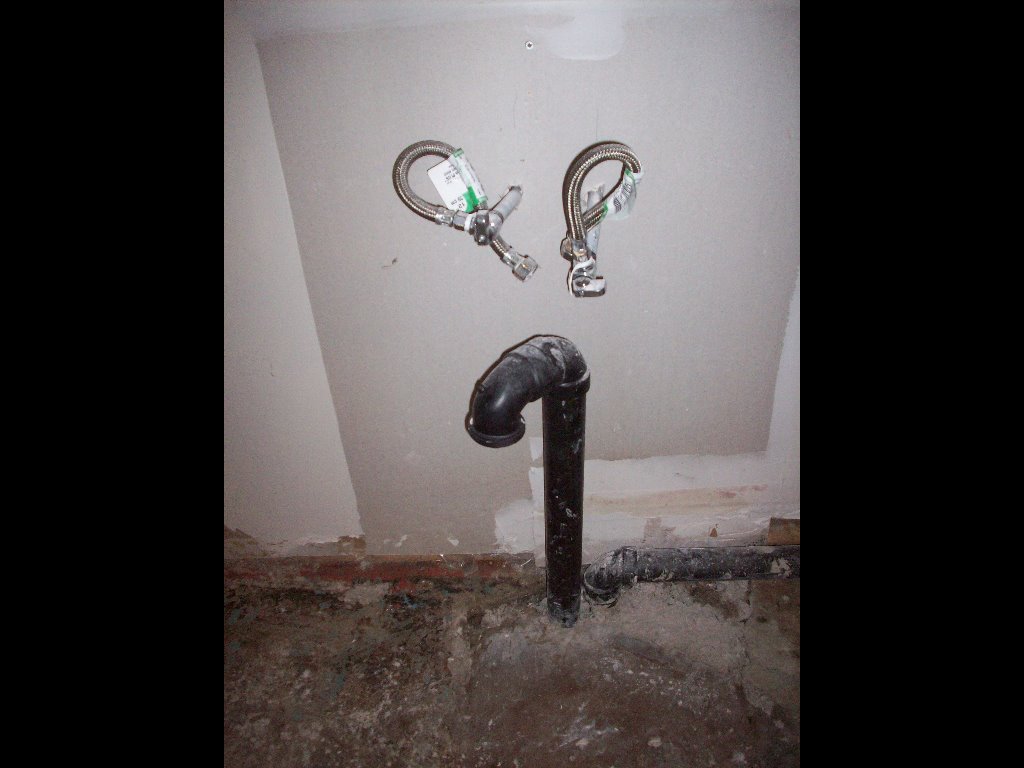 |
The basement bathroom floor was very unlevel so we filled all the lower sections and tried our best to level the area with repeated applications of cement. After the fourth time it was pretty good and we filled in that gaping hole around the shower stall pipe in the floor. You may have noticed it but if not you can have a look Here, the toilet has this weird enclosure behind it to accommodate the pipe that leads to the vent stack (photo on the left). We decided to run the pipe through the existing wall, we removed the last 8" of drywall then cut through the 2x4's (not holding anything except drywall) we cut a gap large enough for the ABS pipe and cut and reran the vent pipe inside this gap. Once done I used some metal braces on each side of the 2x4's to ensure nothing would move and we used a product called "Easyboard" instead of drywall to patch the wall. This product cuts cleanly with a knife and feels like foam core board but unlike drywall produces liitle dust. |
 |
Here you can see the patched wall where the venting pipe has been relocated. We also decided to run a half tile along the walls instead of moldings as it would resist any possible water damage better. I used a large notch trowel to spread the adhesive, I was hoping the minor imperfections in the level of the floor would be masked by the adhesive. I set all the tiles and let everything dry for a week. I still managed to crack two tiles near the door so I pulled them up applied more adhesive and waited another week before walking on the tiles. After waiting an extra week the tiles were finally grouted with brown pre-mixed 'Mapei' grout. |
 |
Originally the shower enclosure was just attached to some moisture-resistant drywall, I decided to replace the drywall with Easyboard as it has a superior rating for humid areas and I wanted to put some tiles around the shower enclosure. I wanted to ensure that the area where the enclosure ends (to the roof area) was tiled as I found that area always seems to have lots of small water spray on it. |
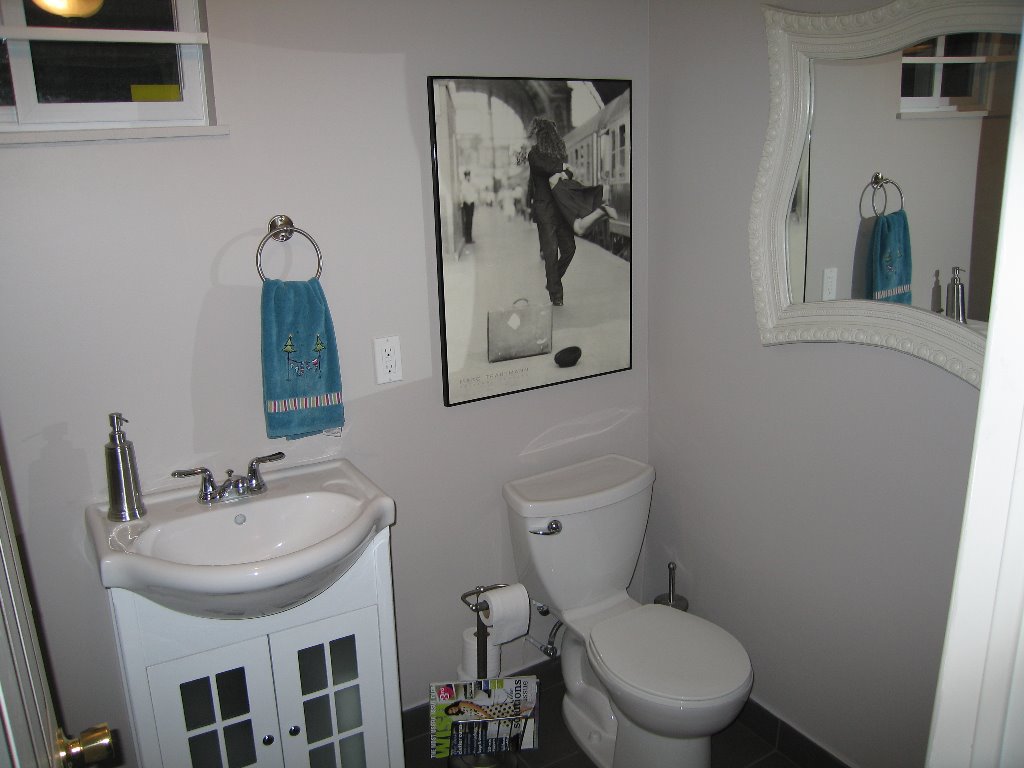 |
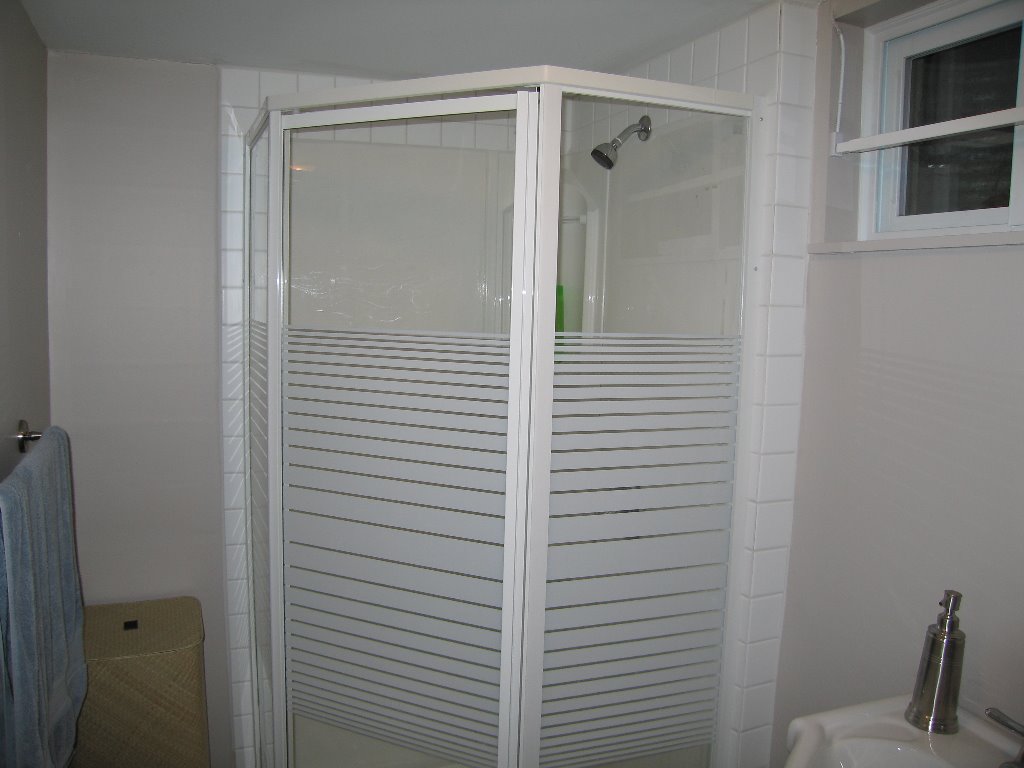
Here is the washroom completely finished, I used a clear silicone to run along all the joints in the shower but had problems later with water leaking. I had made a big mistake, I should have lightly sanded the surfaces as the silicone peeled off way to easy and it allowed the water to leak as it was not properly attached. After sanding and reapplication of silicone, I have had no further issues with water leaking. It's possible these instructions were given on the install sheets but I did not have them. |
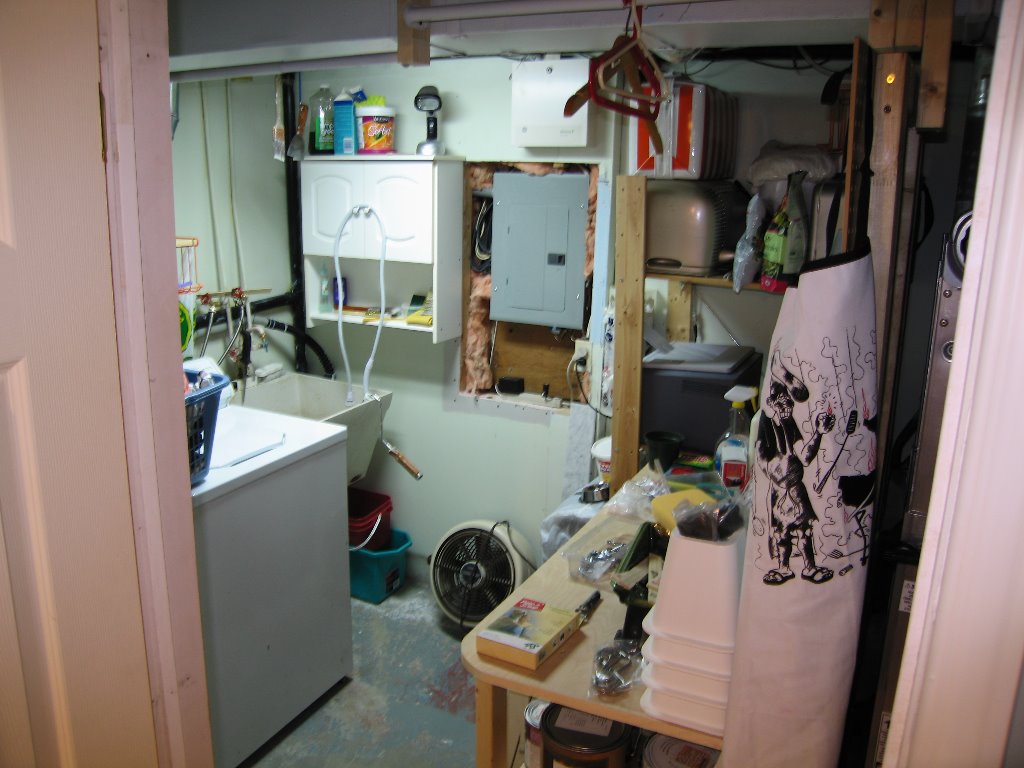 |
Here you can see the new electrical panel and just to the left of the washer is the new location of the dryer with the proper metal pipes for venting. Moving the dryer allowed us to install shelves and made room for a laundry table (full of junk at the moment) so laundry could be folded and placed in easy reach of the washer and dryer. |
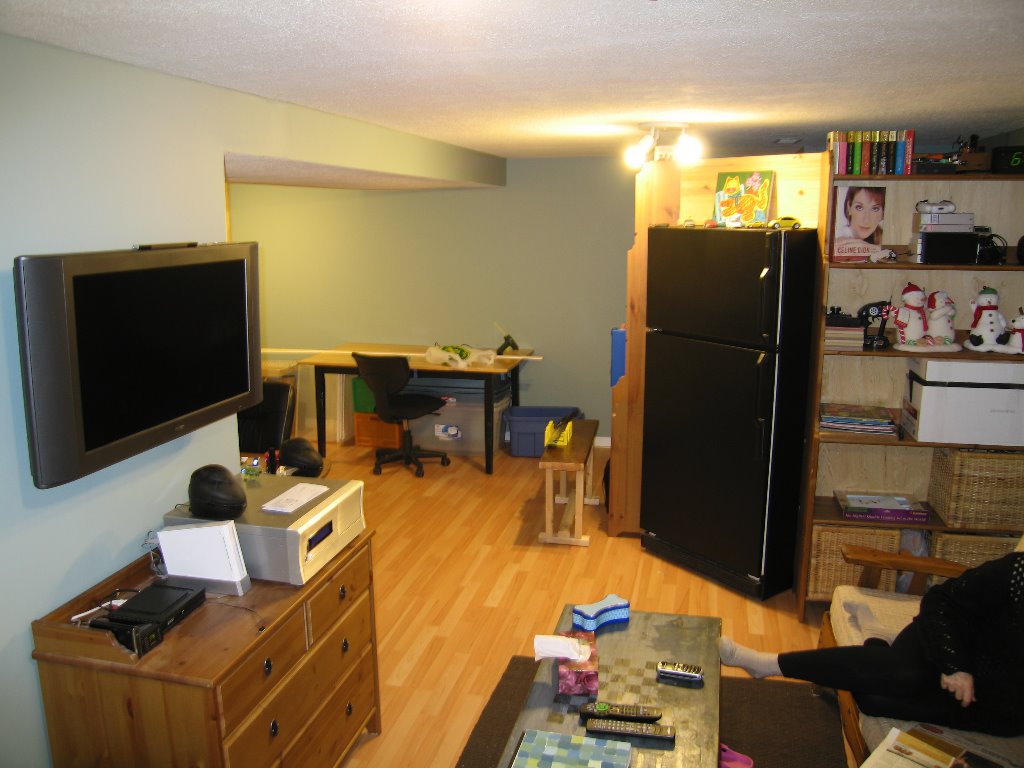 |
The basement floor is a laminate flooring with a underlayment made of recycled materials and a plastic water proof barrier (needed for basements). We choose a product made in europe simply because they have strict regulations regarding Formaldehyde. The floor we purchased was only .99 cents per square foot and was rated at 'E1' which translates to 0.1 ppm Formaldehyde emissions. We decided to keep the old fridge and use it downstairs as it's an energy star product but disliked the white color. After some discussion we purchased a removable black leather self-stick product and simply applied it over the ugly white fridge. |
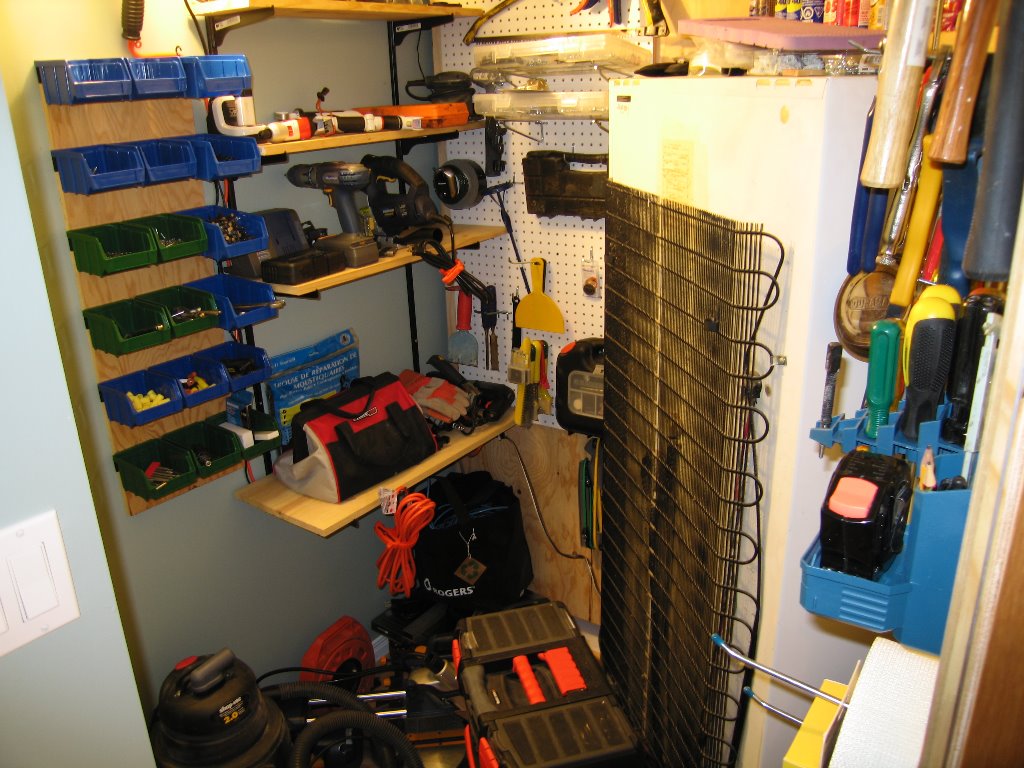 |
This is the area behind the 'black' fridge which was basically wasted space. I added pegboard to the back of the book shelves and added a few pine shelves. Now it serves as my tool and hardware space. I creatively used a work trouble light as the extra lighting required to see and find most items. |
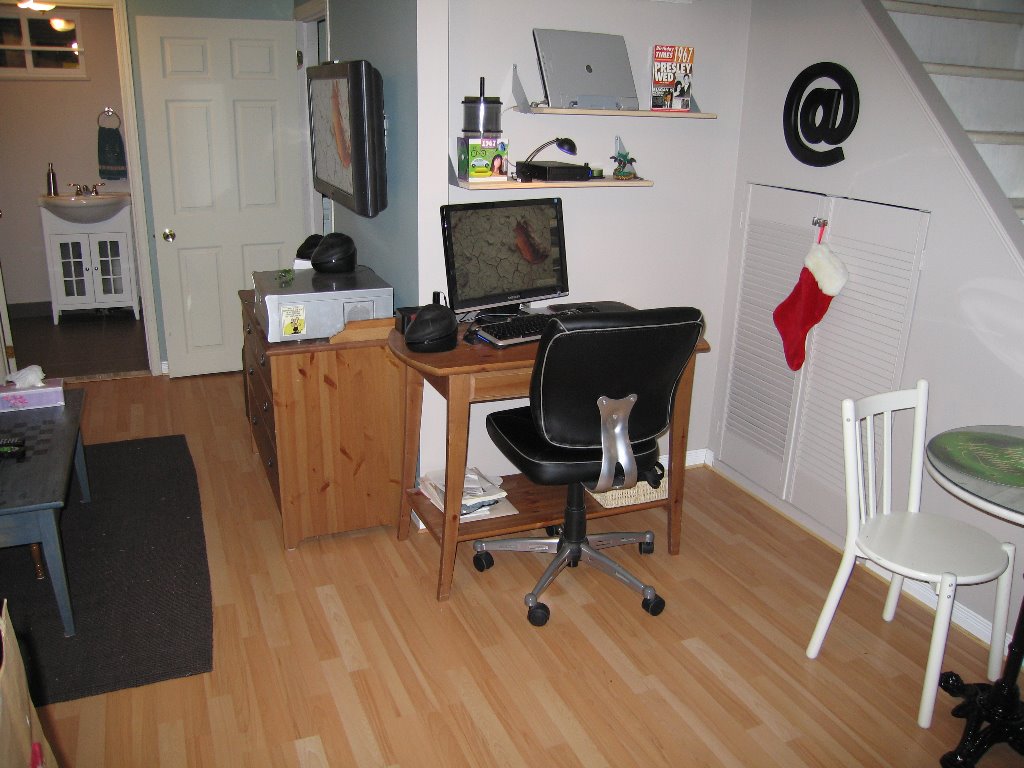 |
The wall along the stairs was created using 1/4" plywood and a few old closet doors that my father-in-law had lying around. I had cut them in half to fit but it serves an important function as any storage under the stairs requires airflow to avoid having items stored from rotting or smelling badly. I also placed two vents into the kick plates of the basement stairs to increase ventilation as much as possible. You may notice the lack of wires, that's because the wall where the PC and Television are located allowed me to run all the interconnection cables through the wall into the furnace room. |
That Covers the Lower level of the House so lets head up to the Kitchen Next Page >