
The $30 3D Printable Scanner Review
![]()
Simplify3D problem
There are two issues. (from a post by Doug Kightley) Update July 27/2017 issue is fixed see Here
Firstly, the behavior that if a single filament will not fit, then its not generated. This results in complaints about the slicer not working correctly....the argument against this being that the printer should only work within what it physically can do and by not printing, it's highlighting an error in the design. A simple solution would be to have a check box to allow working one way or the other.
The second issue relates mainly to the quality of top & bottom surfaces where the width of the wall section is not a multiple of 2 times the extruded filament width...resulting in gaps and holes on the surface. The "Allow gap fill where necessary" option should get rid of the gaps....but it doesn't seem to do so reliably....and it certainly doesn't show up as having much of an effect on the print preview. A more effective gap filling control is required...preferrably one that does not need adjustment of several other options as well.
|
|
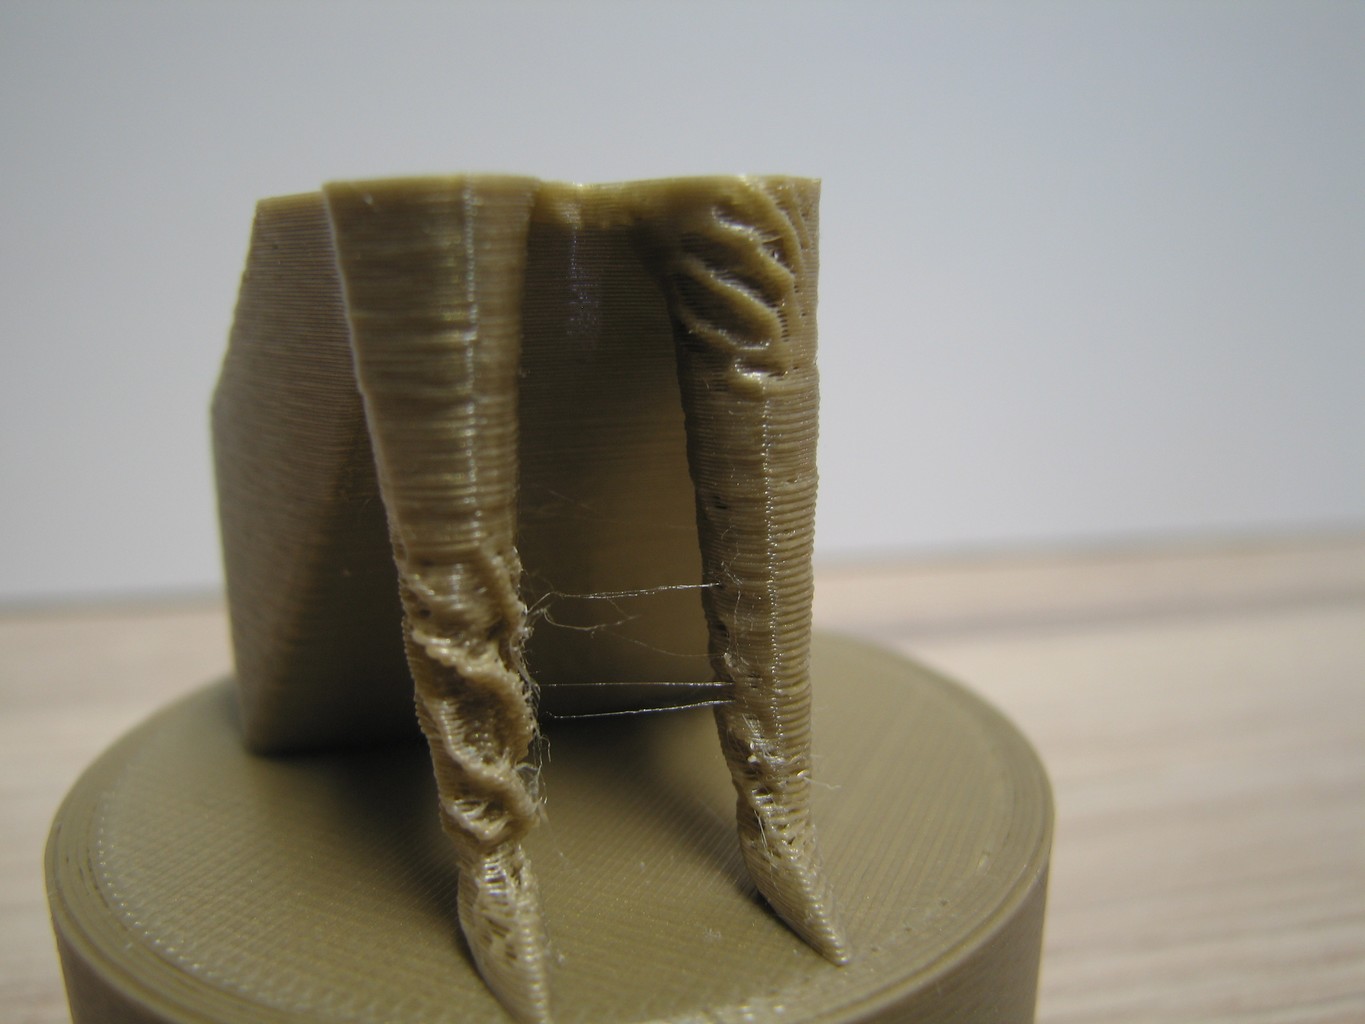
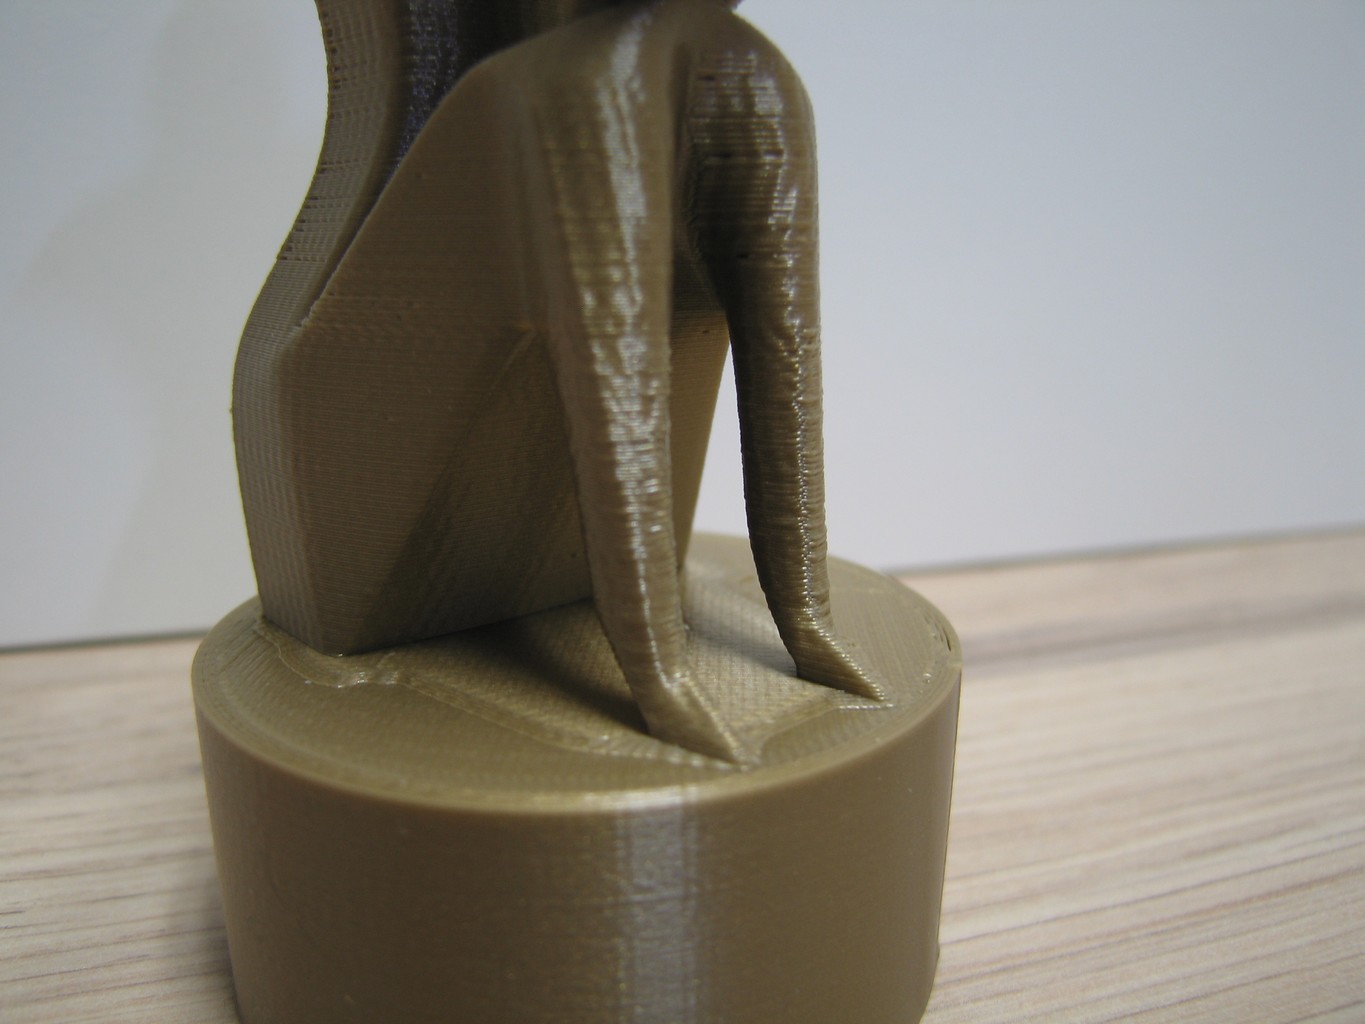
This Mothers Day Sculpture I printed obviously had legs that are too thin. Simplify3D prints the legs incorrectly or perhaps correctly based on its idea of accuracy but the end result is a waste of filament! I did stop it before it was complete but still it's only good for the trash! The one that printed was sliced with Craftware which has become my slicer of choice now. |
|
|
When trying to print a part for this Vise I again ran into a wall that I guess was too thin. I do have a cheat to fix these issues I change my nozzle size from .40 to .35 in the software and I manually change the extruded size down to .39 assuming the design has .40 walls this fixes the issue but creates under-extrusion issues. |
|
|
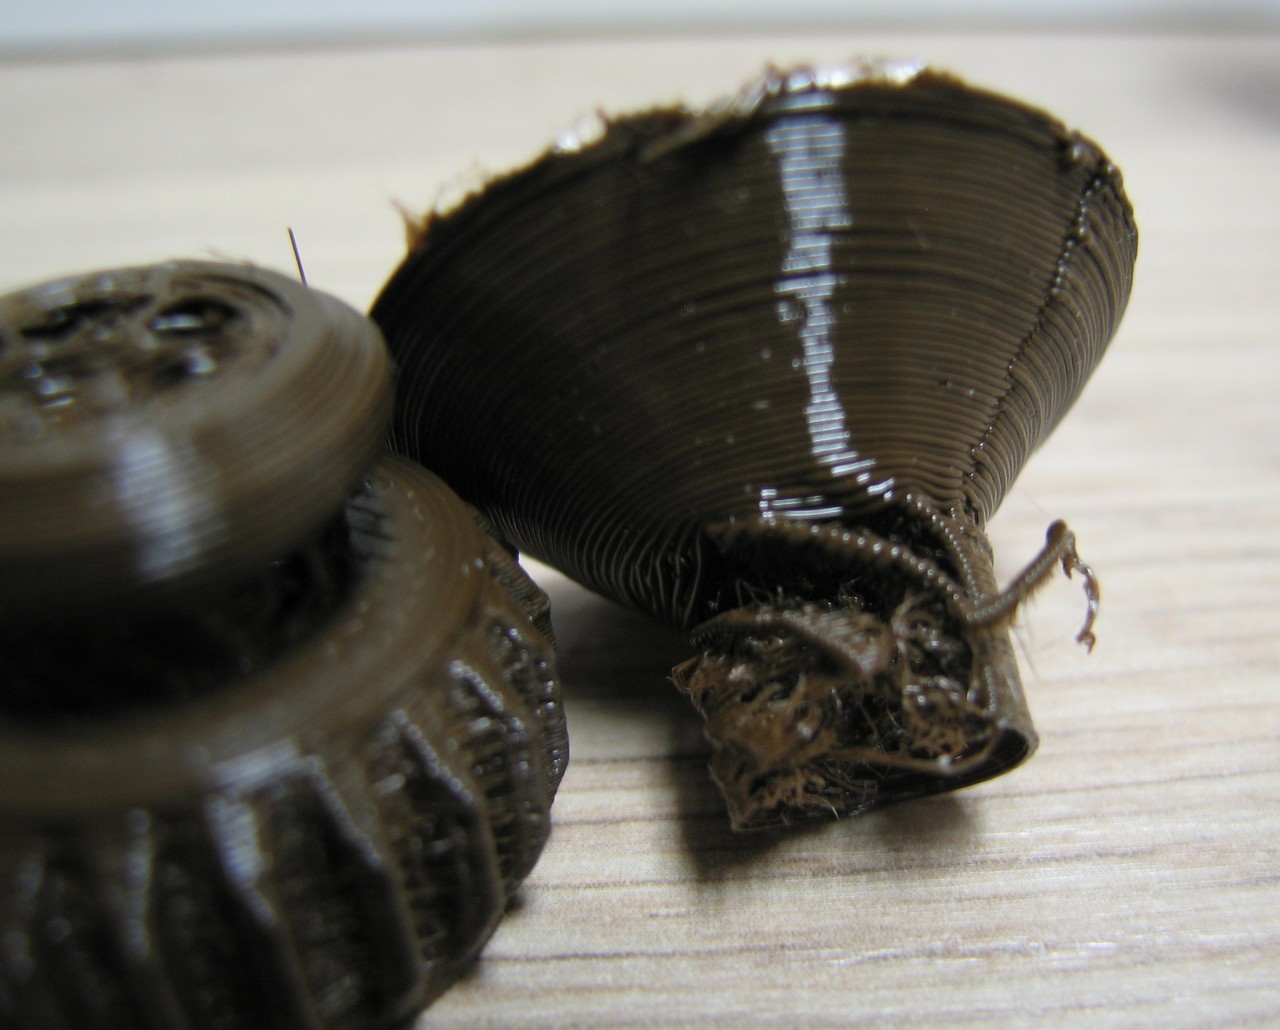
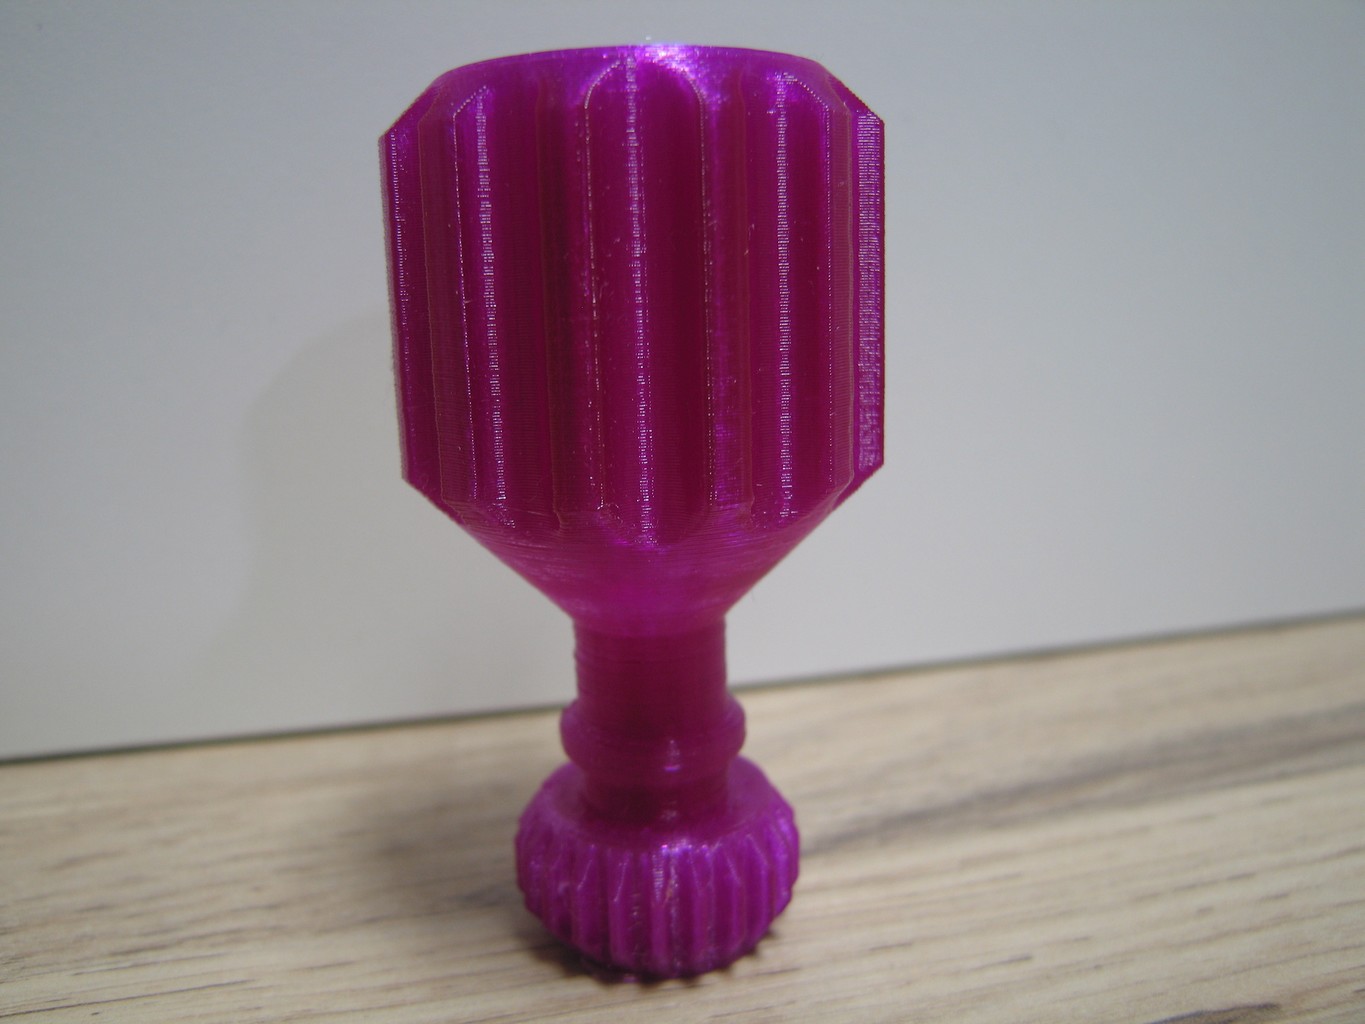
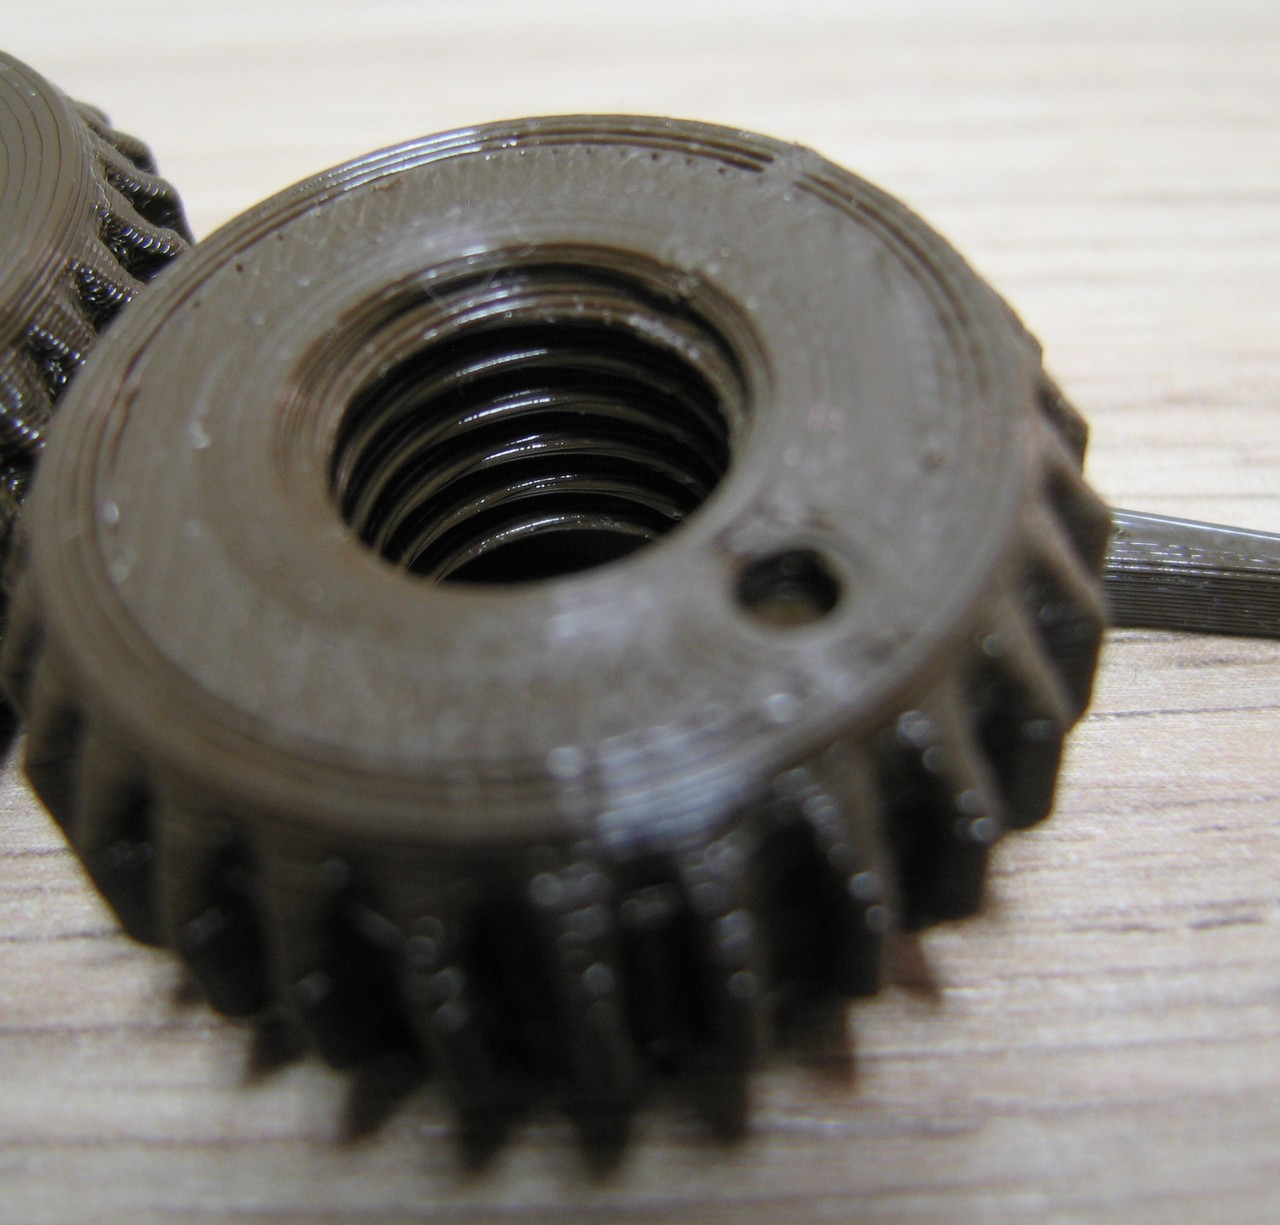
So my dirty quick fix works for the thin walls as long as they are at least .40 thick but the side-effect can be seen in the incomplete threads of the knob also for the Vise. The other has been printed using .40 nozzle setting and an extrude size of.48 and the threads turned out perfectly. |

Usually I print .STL files from other people so I don't have access to any reliable method of checking for thin wall issues. The preview feature on Simplify3D simply doesn't always show an issue is present, sometimes you'll notice some walls are missing but often it looks terrific with no issues until you see your finished prints!
Users of Simplify3D are asking for some tweaks, the first would be a warning system with problem areas highlighted in red so you know where the issues will be. The second would be an option to override the problem and print anyway even if the final size will be inaccurate.
I will say that I have been using Craftware slicer as it offers 80% of the the features and adjustments of Simplify3D and it actually came in second place behind Simplfy3D in terms of output based on "Which 3D Printing Slicer is Best? 2016 Slicer Throw Down" Part 1 and Part2. The test was done in Jan 2016 and the Craftware software has been updated 3 times (May 2017) so it most likely improved each time.
I'm far from the only person struggling with the thin wall issue in Simplfy3D as seen in the post by Doug Kightley and considering people shelled out $150 for the software you would think they would work dutifully towards a fix or update to rectify the problem. It appears on the forums that this has been reported in early 2015!
Issue is fixed in Version 4 of the S3D software
The information below was posted by Doug Kightley on July 27/2017
So I've been testing and printing non-stop for the last 24 hours, and it seems like version 4.0 addresses pretty much every issue mentioned in this thread! Here's a quick summary of what I found
- They now allow printing features that are smaller than the extrusion width. In the past, if you were trying to print a 0.3mm wall with a 0.4mm nozzle, it probably wouldn't work, but now you can use what they call "single extrusions" to print those thin parts. You do have to enable the feature first though by going to the Advanced tab and changing the "external thin wall type" to "allow single extrusion walls".
- I was worried that this feature would only work if the size of the wall stayed constant, but it actually looks like the software is smart enough to taper the flow to create smaller extrusions in thin areas, or increase the flow to get thicker extrusions where needed. So if you have a wall where the thickness varied from 0.2 to 0.3 to 0.25 etc, the flow gets adjusted to try to create that exact thickness. Pretty cool!
- There's also quite a few topics that I've seen about thin walls that had a gap between the perimeters. So if you wall was 1.0mm thick and you had a 0.4mm extrusion, then you might end up with a 0.2mm gap in the middle. Previously, you could use gap fill in most of these situations, but v4 lets you place a single extrusion in these thin gaps now. So it fills the gap in one straight pass instead of the infill style where it moves back and forth constantly. Just like #1, you have to enable this though by going to the Advanced tab and setting the "Internal thin wall type" to "allow single extrusion fill". Like before, it can also adjust if the gap varies in size.
- There are a few options for customizing the single extrusions in the bottom left of the Advanced tab. If you're trying to print REALLY tiny parts, you might need to decrease the minimum extrusion length, since it seems that anything less than that value isn't printed. Mine defaulted to a minimum length of 1mm, and that worked fine for most of the parts I was printing. If you had a larger part and only wanted to print long single extrusions for filling in long gaps, it may make sense to increase this value so that you don't have to bother with really tiny extrusions (just focus on the big ones). So 1mm is probably fine for most, but maybe increase that value for larger parts, or decrease if you are printing really tiny < 10mm parts. The only other setting I had to play with was the endpoint extension. For one of the prints I was doing, it helped to increase this value slightly to 0.3mm. That seemed to help the ends of the single extrusions bond to the rest of the model better.
- Finally, I found out there is also a setting that controls when perimeters are used vs single extrusions. If you are printing a real model, you're probably going to see perimeters for big features and then single extrusions for the smaller stuff. But it seems that you can actually adjust the preference by changing the "allowed perimeter overlap" setting. If you set that value to 100%, it would allow the perimeters on either side of your model to completely overlap before switching to single extrusions (so if you had a 0.4mm extrusion width, your wall would have to be less than 0.4mm wide before single extrusions). If you set it to 0%, then single extrusions get used the moment the perimeters on either side of the model touch (your wall would only have to be less than 0.8mm wide to use single extrusions). From my prints, normal perimeters tend to be a little stronger than the single extrusions, so I was keeping this allowed overlap around 30-50%. That seemed to create the strongest prints without allowing too much overlap.
That's a long summary, but I hope it's useful for someone! And thanks to the S3D team for adding the new features!!