
What's so special about the X-Box?
X-Box FAQ Frequently Asked Questions
Flashing the TSOP of your Xbox Tutorial
X-Box UXE Softmod Installation tutorial
Flash the Firmware of your Xbox 360
You will need a few tools to perform this operation:
- Torx 7,10 and 12 screwdrivers
- Small flat head screw driver
- long thin object (less than 1mm thick)
If you take apart your Xbox 360 it will void your warranty immediately
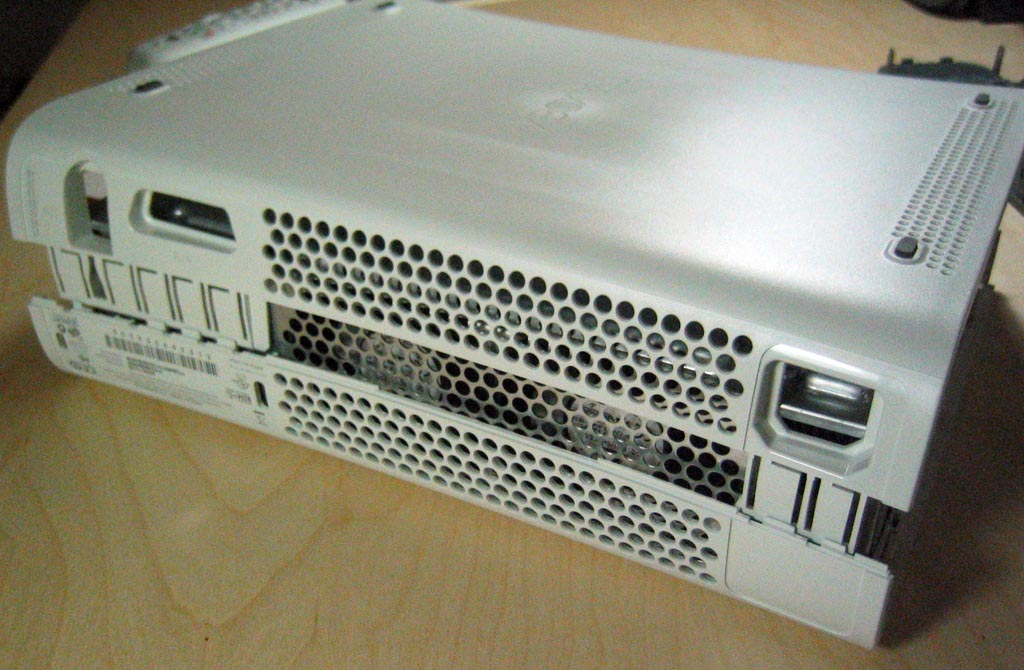
Start by disconnecting all the cables and lay the Xbox 360 on it's side.
Click on any photo to enlarge
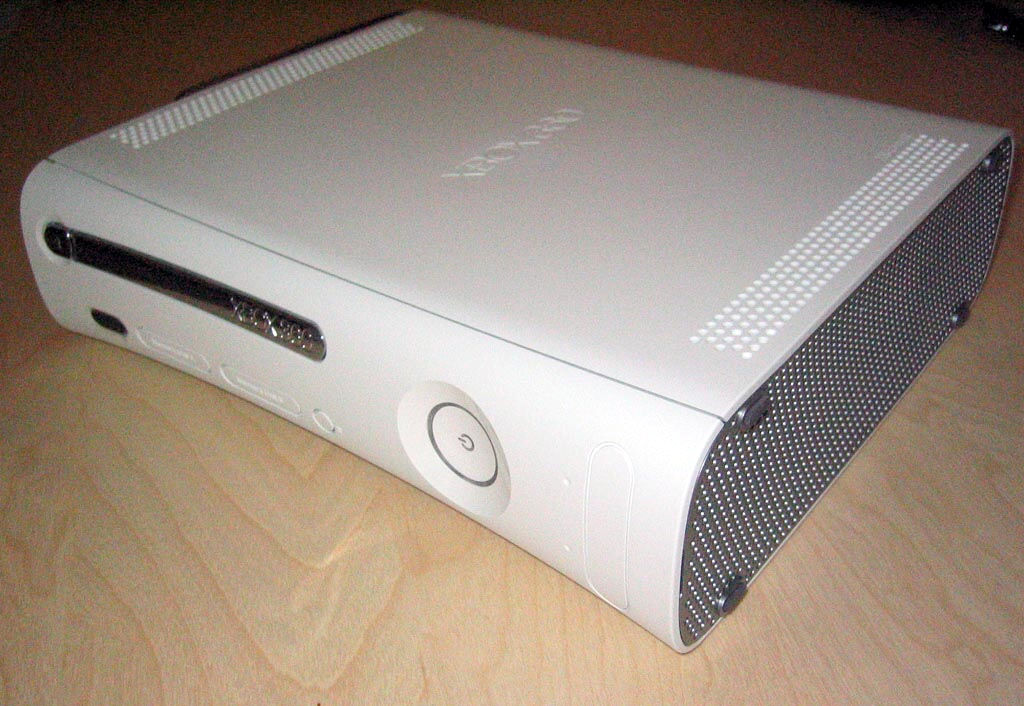
Here we have the Xbox 360 waiting to be 'cracked' open The first step is to remove the 'Faceplate'
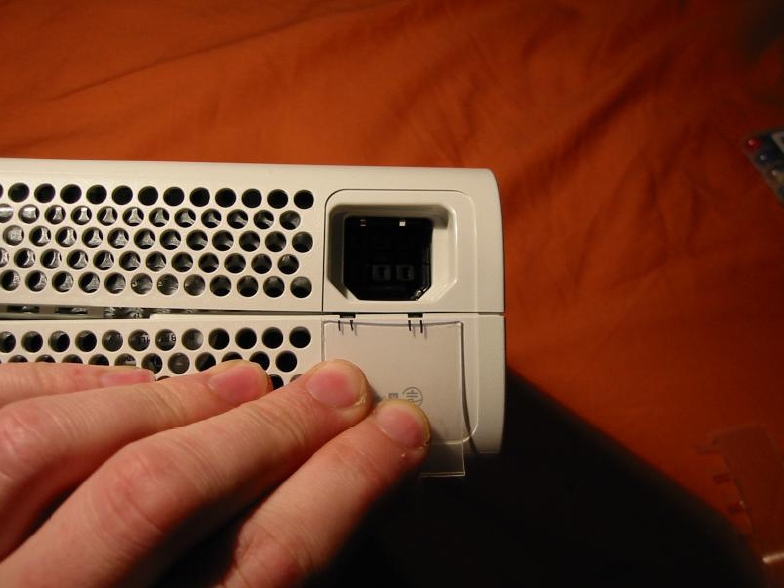
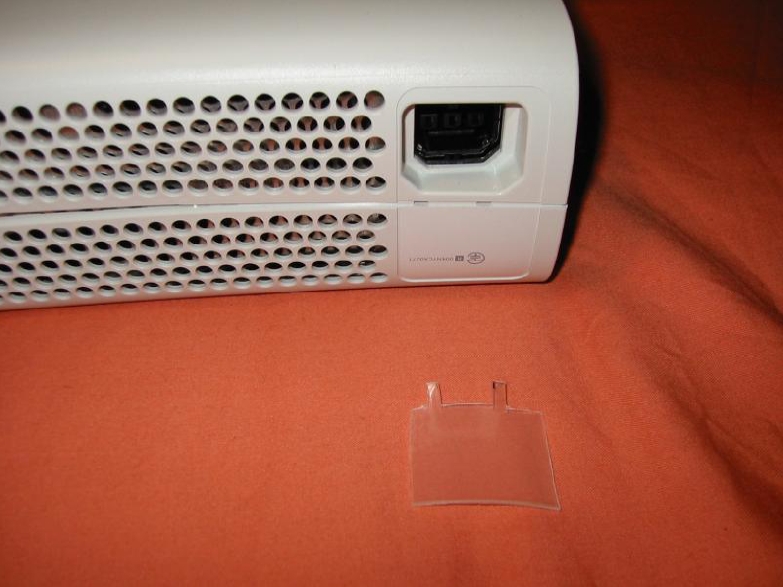
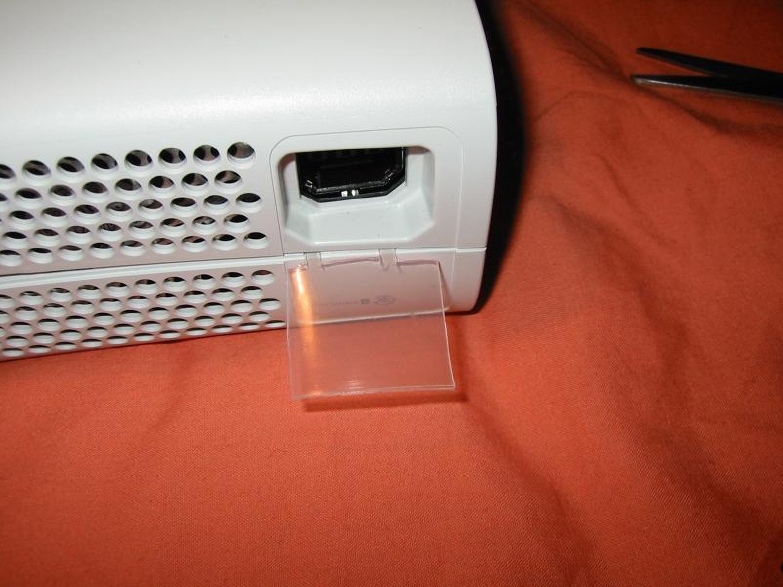
Take a look at the front of the Xbox 360 and insert your thumb into the door that covers the two USB ports on the right of the unit. With your other hand squeezing the upper and lower sides of the face plate, pull out the face plate with your thumb. With not much force, the face plate should pop right off.
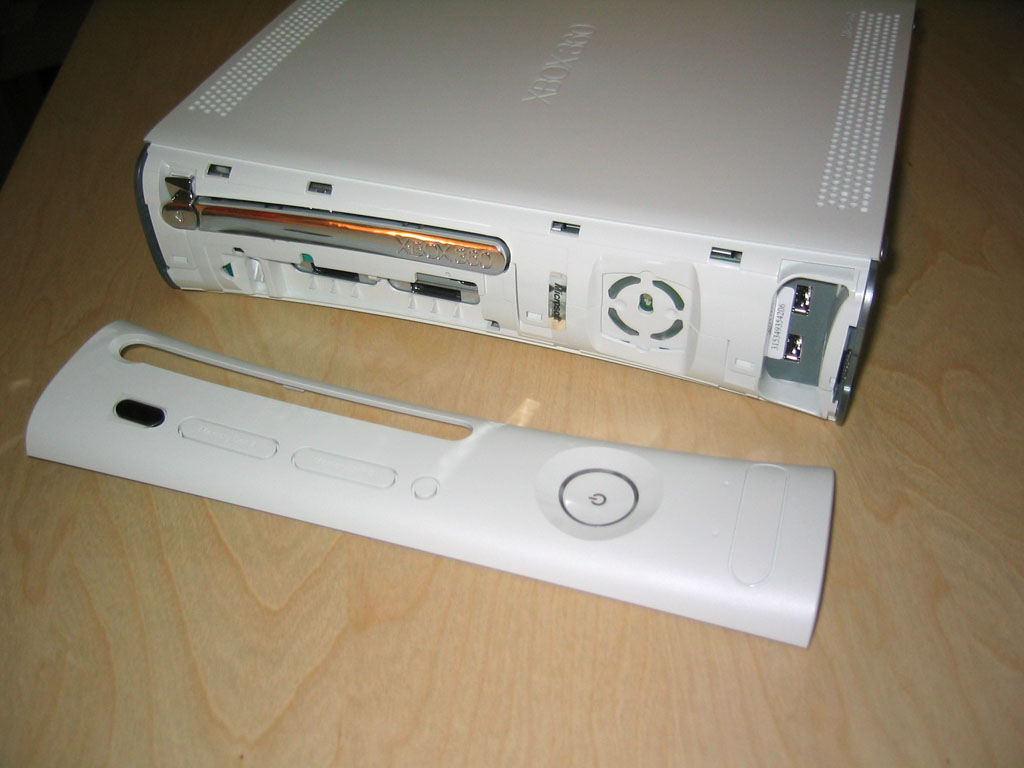
After the face plate has been pulled off you will see a silver Microsoft sticker covering a gap; remove this. You will also see four small clips locking the top half of the plastic shell to the bottom half. Do not attempt to wedge the clips out at this point.
With some care, gently bend outwards, the right gray ventilation shield on the right side of the unit so that you can see a bit inside. You will notice that the gray side piece attaches to both the bottom and top white chassis. Now look through the holes on top of the unit to locate the areas where the gray side pieces attaches to the white body. What you need to do is take a long thin object and push down through the white holes (located on both the top and bottom of the Xbox 360) where the clips of the gray side pieces connect. Slowly pull out the gray pieces away from the unit while unlocking the clips and eventually the gray piece will release itself.
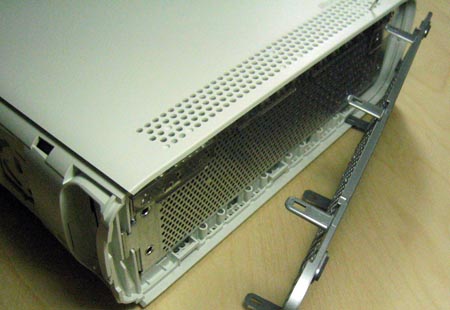
To remove the left gray piece, you must first remove the hard drive unit by pressing the button located on the unit itself. Then apply the same procedure used to remove the right gray ventilation piece but when you reach the bottom clip of the piece, you must remove the rubber feet located directly below, to reveal a hole where you can insert a long thin object as you did in the last step.
For this next step you have two options the first is to ignore the references to the plastic keys and just use a small thin screwdriver to release the snaps holding the shell or follow the preferred method which requires a couple of pieces of plastic that is stiff enough to act as a key to release the snaps. The plastic dome cover that comes with most CD's/DVD's is a perfect choice.
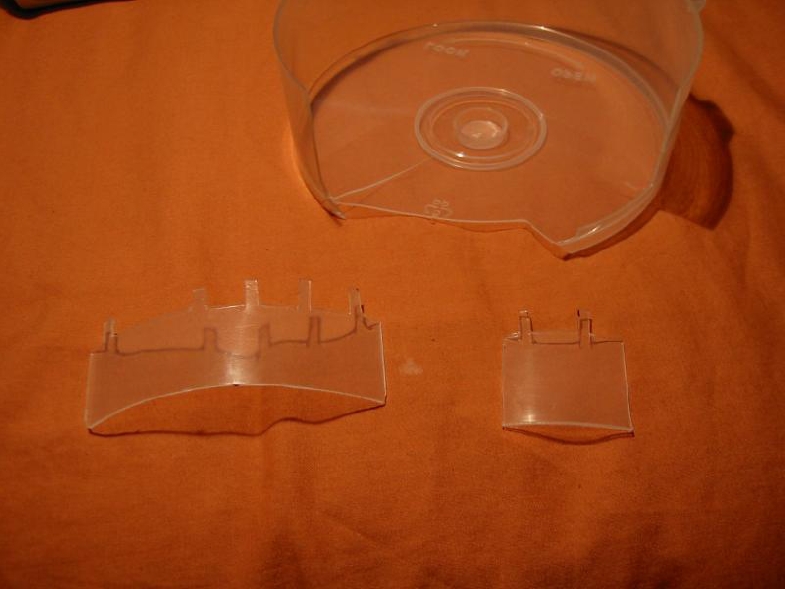
Take the cover from your spindle of CD's /DVD's and cut a bit from the side of it and put it over
area shown in the photo below and mark out where the holes will need to be cut. Or press into these areas with a small screwdriver to release the snap and use anything handy to wedge the area open so that the snaps won't snap back into the locked position while attempting to release the others
Cut the plastic so that the tabs that stick up are about 1cm (less than 1/2 inch) long
The finished key should look something like the one in the photo below.
Now repeat and create another key for the remaining slots near the bottom of the Xbox 360
Again mark your plastic and keep the tabs about 1cm in length this key will have 5 tabs
total versus the 2 tabs for the first key we made.
Once the key is made simply push it firmly into the slots until you hear the snaps release now separate the case halves slightly and use the key as a wedge to prevent them from reattaching while working on the top of the Xbox 360.

Repeat the procedure with the remaining key and all 7 snaps should now be released.
Lift the case shell carefully making sure no snaps are remaining while trying
to avoid any latches from reattaching.
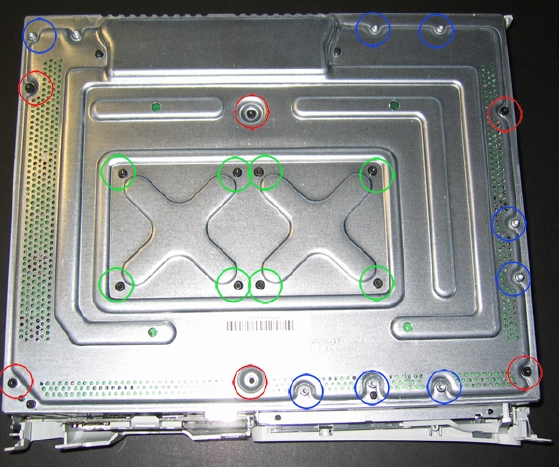
To get access to the DVD Drive all you need to remove is the six long screws circled in RED
Don't remove the heat-sink screws circled in Green or the screws circled in Blue unless you want to completely dissemble the Xbox 360, we only need access to the DVD-drive
Once you have the 6 screws removed, flip the Xbox 360 right side up and lift up the top plastic shell. You should now be greeted with the internals of the Xbox 360
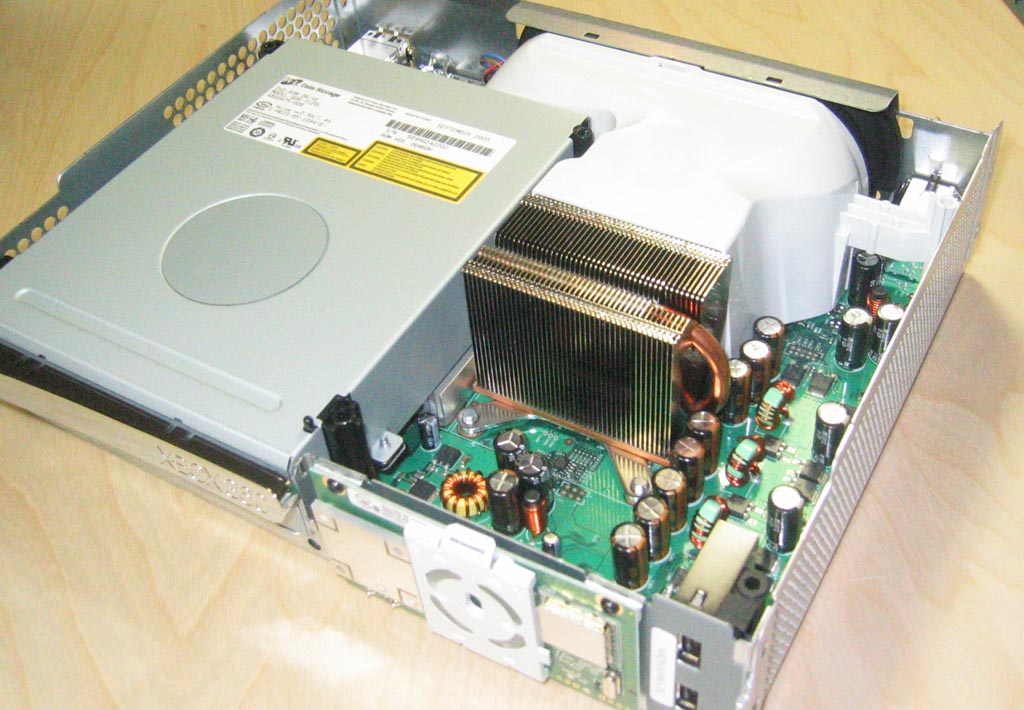
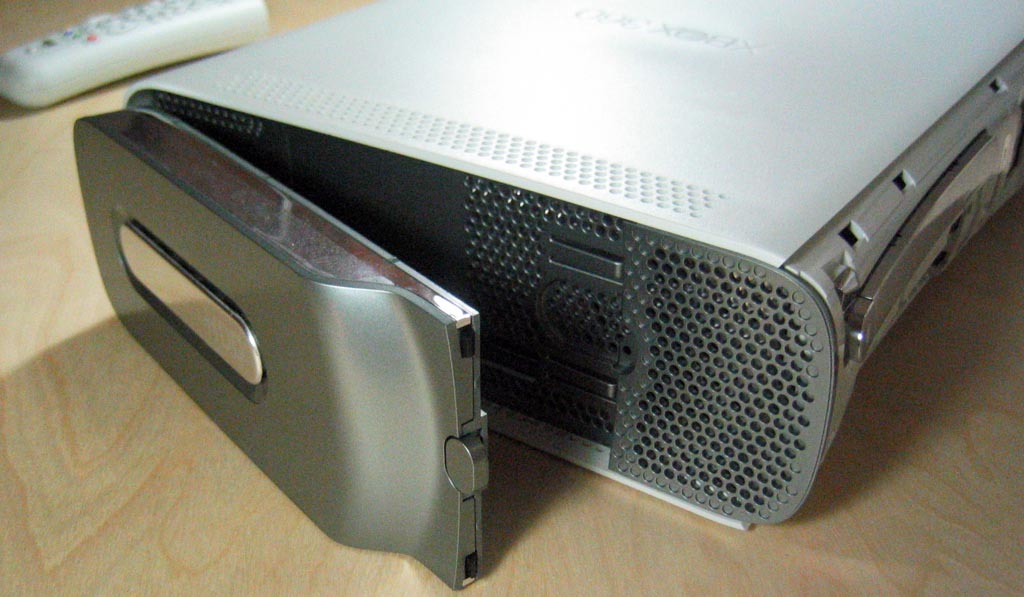
Last step removal of the DVD-drive, simply hold the drive and lift up. You will notice that the Xbox 360's DVD drive uses a Serial ATA (SATA) interface and we will need to connect the PC's SATA cable to the drive while leaving the Xbox 360 power cable attached.
